






Bulk UGC Rights Requests for Events: Get One Creator Permissions for Multiple Posts at Once
Managing user-generated content is one of the biggest opportunities for event marketers. Attendees capture hundreds of moments during conferences, festivals, exhibitions, graduations, and brand events — from stage highlights and behind-the-scenes moments to attendee experiences and brand interactions.
But when you want to reuse that content across your event website, social media channels, digital screens, or event social wall, getting permission from creators can become time-consuming.
Previously, event teams had to request rights for every post individually. During a successful hashtag campaign, a single attendee or creator may share multiple photos and videos, requiring separate permission requests for each piece of content.
Now, Social Walls makes it easier.
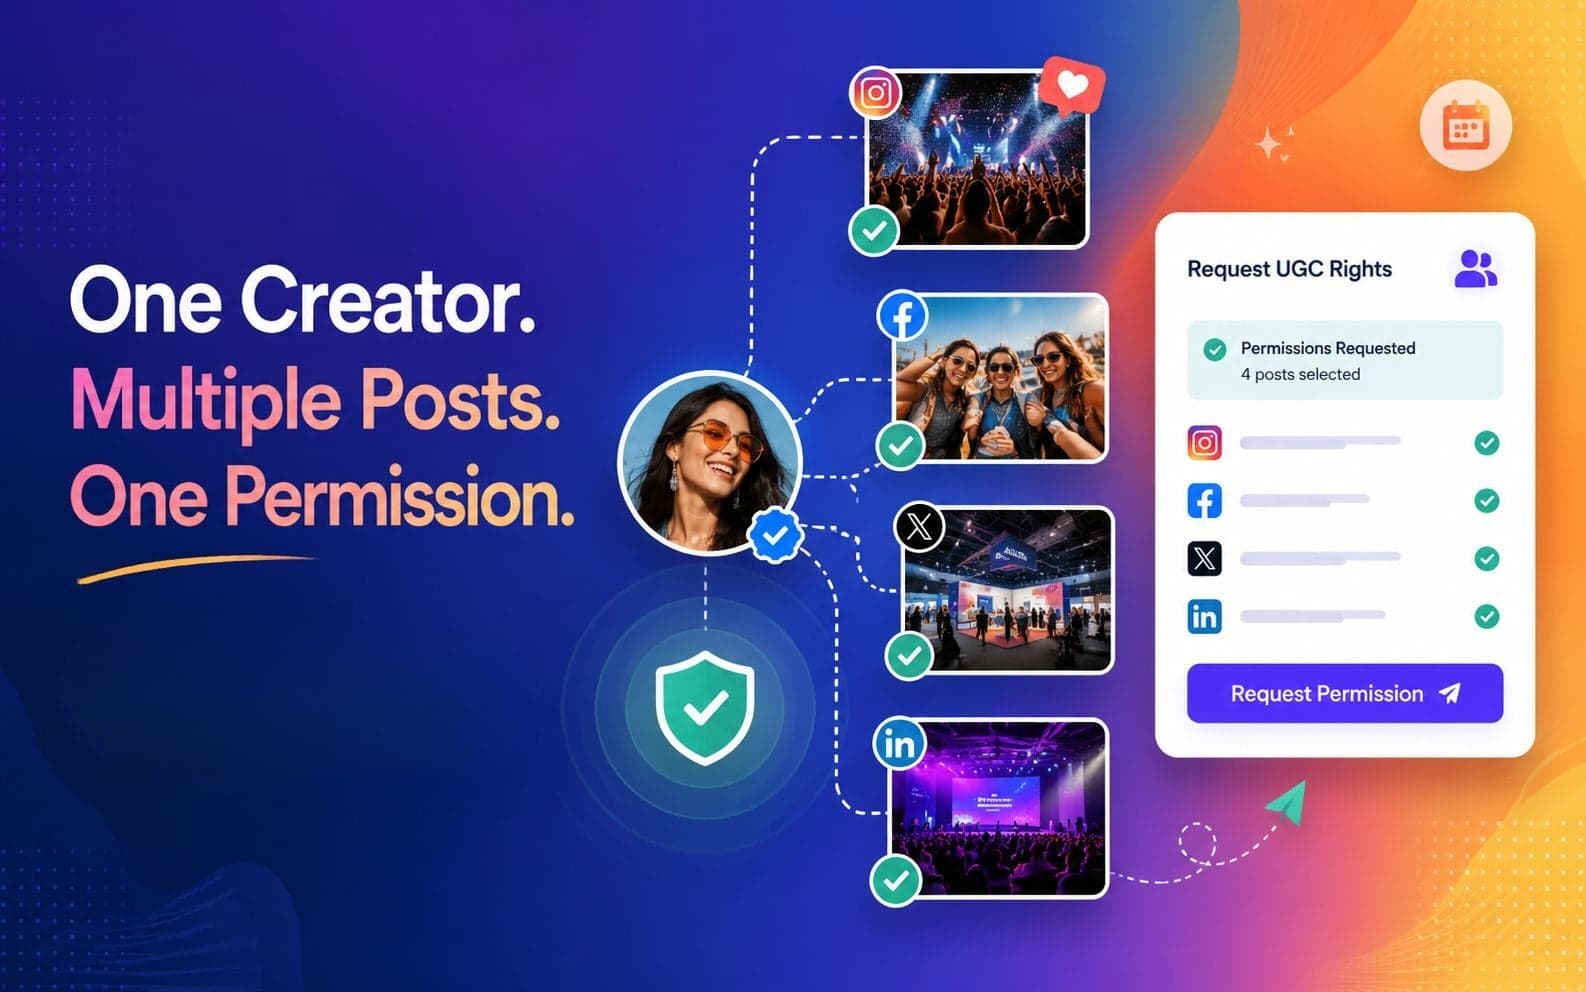
With bulk UGC rights requests, event organizers can request usage permission for multiple posts from the same creator in a single request, saving time while keeping your content rights organized.
What’s New
Rights requests used to work one post at a time. The Content Gallery with content moderation now supports multi-select, so you can batch them.
Instead of opening each post separately:
- Open your Social Walls content gallery.
- Select multiple eligible posts shared by the same creator.
- Click Request Rights.
- Send one permission request covering all selected content.
Single-post requests still work exactly as before. Every eligible post card keeps the small “person with checkmark” icon in its icon row, and clicking it opens the same wizard for that one post.
How to Send a Bulk UGC Rights Request for Events
The bulk rights request process takes only a few steps.
Step 1: Select Event Content
Start by selecting the posts you want permission for from your event content gallery.
One thing to watch: the option can look pre-selected when it is not. You have to click it. If you click Next without clicking the option first, you will see the error “Please select the mode for Right Request.”
Step 2: Create Your Permission Message
Customize the message your creator receives.
You can:
- Select an existing request template (start with Default Template 1, or create your own)
- Add your personalized brand message
- Mention your event name and campaign details
- Add your brand logo (optional, but it makes the request look legitimate to the creator)
- Include usage terms and conditions. A default document is already attached, and a “Use our predefined content” link is available if you do not want to write your own.
- Tick the “Accept our Terms and Conditions” checkbox. The wizard will not let you continue without it.
Step 3: Connect the Sending Account
Click Add Account and authorize the account through OAuth. This is the account the request will be sent from, and it is required. Skipping it returns “Please connect account.”
Step 4: Review the Request
Before sending, review your request details. The final message appears as read-only text under the heading “Your UGC Request is Ready,” along with the steps to follow next.
You can check:
- Selected posts
- Creator information
- Permission message
- Terms and conditions
Step 5: Raise the Request
Clicking Raise Request does three things at once:
- Marks every selected post in your gallery with a Pending status badge.
- Generates a unique tracking link that stays valid for 30 days.
- Opens the creator’s original post in a new browser tab.
Clicking the Pending badge later reopens a summary screen with the post and a 30-day countdown ring, so you can always see how much time is left on a request.
Your team always knows which attendee content is ready to be displayed or reused.
Which Posts Are Eligible for Bulk Rights Requests?
Not every post can be included in a bulk request. These rules help maintain accurate creator permissions.
Rule 1: Posts Must Be From the Same Creator
Bulk UGC rights requests work when multiple posts belong to one social media user.
Example:
✅ Five Instagram posts from the same attendee → One bulk request
❌ Five posts from five different attendees → Separate requests required
If you select posts from two different creators, Social Walls blocks the action completely with a popup: “To send UGC Rights request in bulk, make sure you choose posts from a single user.”
The popup shows a green check for two posts from one user and a red X for two posts from two users.
Rule 2: Posts Must Include Visual Content
UGC rights requests work best for visual event content. Text-only posts are not eligible and do not show the Get Rights icon at all.
If you include a text-only post in a multi-select, the bulk Get Rights button disappears from the toolbar without any error message. The missing button is the only signal, which is why this one causes confusion.
Eligible:
✅ Photos
✅ Videos
✅ Reels
✅ Event highlights
Not eligible:
❌ Text-only posts without media
Rule 3: Posts Must Come From a Live Social Feed
Posts collected through connected social media feeds can be requested for rights.
Manually uploaded content without creator information may not support automated rights requests.
Which networks support rights requests
| Network | Eligible feeds | Bulk request | Single-post request modes |
|---|---|---|---|
| Hashtags, Mentions | DM Request | DM Request | |
| Hashtags, Mentions | DM Request | DM Request, Comment Request | |
| X (Twitter) | Hashtags, Mentions | DM Request | DM Request |
| TikTok | Hashtags | See note below | Comment Request |
Note on TikTok: Single-post TikTok requests support Comment Request only, while bulk requests currently run through DM Request. Check the current behavior in-product before confirming TikTok bulk support for a customer.
Why Bulk UGC Rights Requests Matter for Events
Save Time During Large Events
Major events can generate thousands of attendee posts.
Bulk requests help event teams reduce manual work when collecting permissions from frequent contributors.
Build a Rights-Approved Content Library
Approved UGC becomes a valuable resource for:
- Future event promotions
- Recap videos
- Social media campaigns
- Website galleries
- Sponsor presentations
Improve Attendee Engagement
When attendees see their approved content featured on an event social wall, it creates a stronger connection with your brand.
UGC transforms visitors from passive attendees into active event participants.
What Social Walls Handles, and What You Do Yourself
This part matters for setting expectations, so we’ll keep it simple.
Social Walls handles: The rights request itself, your branded message, the attached Terms and Conditions, the approval page the creator sees, the trackable request link with its 30-day validity, the pending status on your selected posts, and the record of the creator’s approval or rejection.
You handle one step: After you click Raise Request, the creator’s original social post opens in a new browser tab. Copy the generated request link and share it with the creator by posting it as a public comment or sending it directly through the appropriate channel. The creator reviews the terms, approves or declines the request, and the status is updated inside your Social Walls dashboard.
In other words, this is a semi-automated workflow. Social Walls prepares, tracks, and manages the entire rights request process, while the final delivery of the request link is completed manually.
Who This Helps Most
Event organizers and marketers. When attendees share multiple photos and videos during conferences, festivals, exhibitions, or brand activations, you can request permission for all eligible posts in one go instead of sending separate requests.
Brands running hashtag campaigns. If the same creator shares several posts using your event hashtag, a single rights request saves time and keeps permissions organized.
Marketing teams using UGC. Documented creator permissions with attached terms help ensure user-generated content can be confidently reused across social media, websites, digital displays, and event social walls.
If Bulk Requests Are Not Working
Most bulk request issues happen for one of these reasons:
- The selected posts belong to more than one creator. You’ll see a notification asking you to select posts from a single creator.
- One or more selected posts are text-only or were manually uploaded. In this case, the Get Rights option won’t be available.
Check these conditions before contacting support.
Get Started
Ready to collect and showcase attendee content at your next event?
Open your Content Gallery, filter content from your connected hashtag or mentions feeds, and select two or more eligible posts from the same creator.
If you’d like to learn more about UGC rights management in Social Walls, our team is happy to walk you through the process.