
In this comprehensive guide, we’ll unveil the full potential of SnapUp feature to supercharge your brand’s online presence.
From collecting authentic user-generated content (UGC) to creating captivating displays, we’ll cover everything you need to know to make your brand stand out in the digital landscape.
Steps To Use SnapUp
SnapUp is one of the amazing features of Social Walls, which enables users to collect UGC content in the most seamless way. Let’s start learning the steps.
Step 1: Log in to Social Walls and create a feed
- Begin by creating your account on Social Walls by Signing Up. Existing users can just log in.
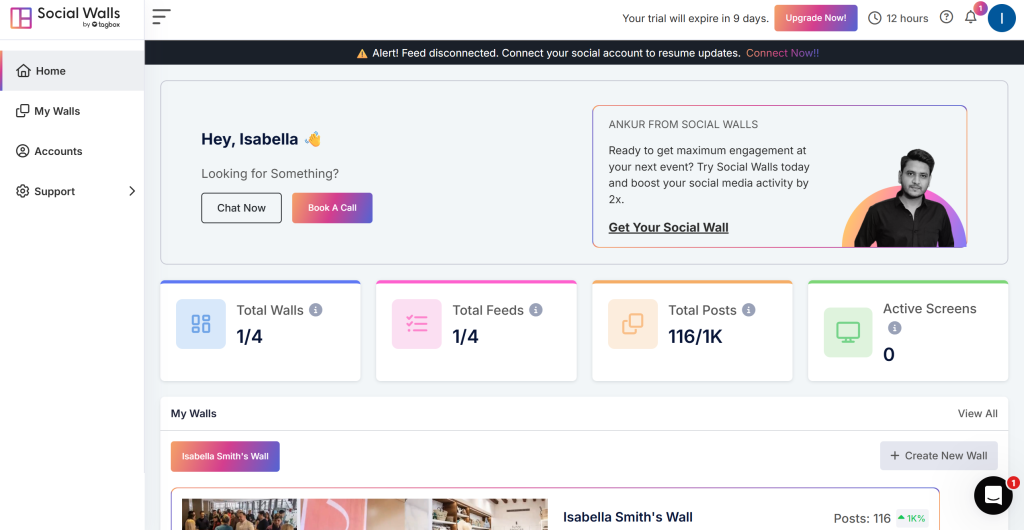
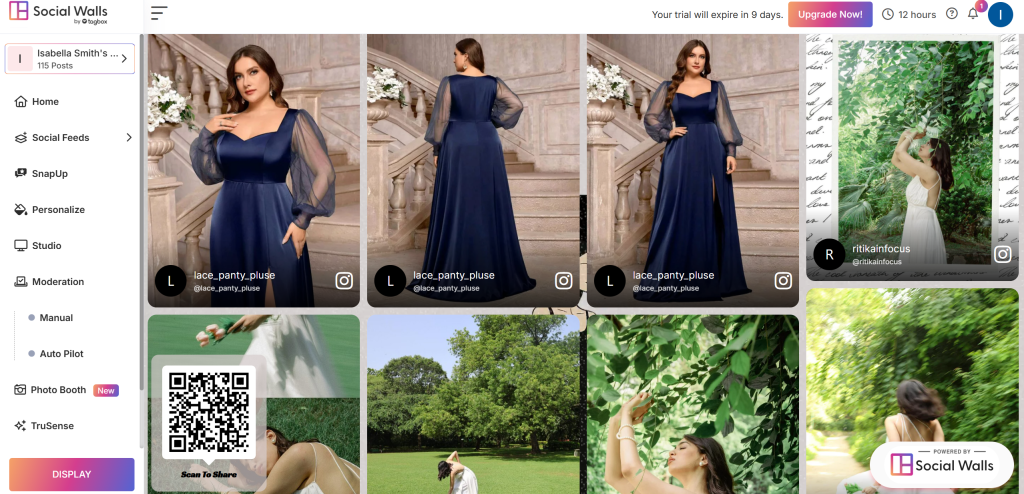
- After Login you will be landed on the Social Walls Dashboard.
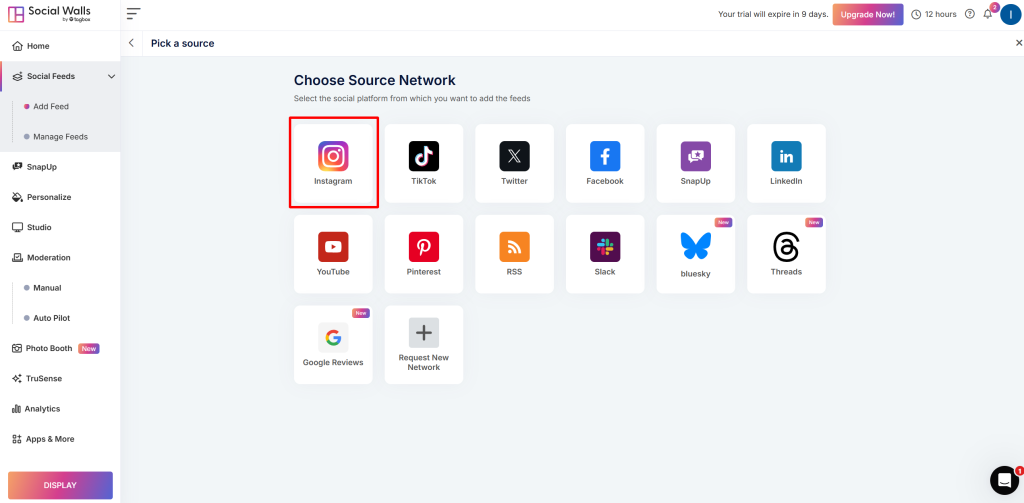
- Now, create your feed for which you have to choose your preferred network. For this example, let’s choose Instagram.
- Next, you will get a few options of connection type to fetch content, like hashtags, my handle, mentions, stories, etc. Let’s go with hashtags.
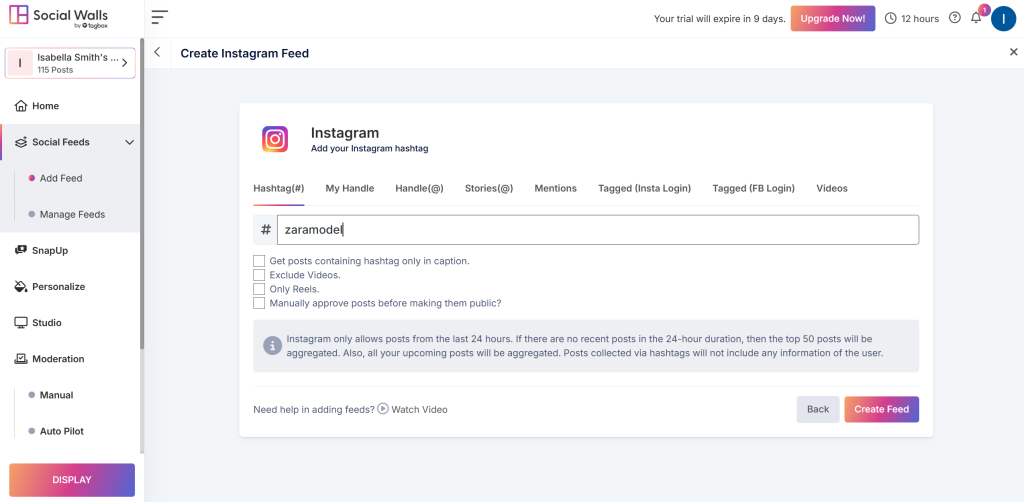
- In the next step, you can see that your feed is ready with all the zara model content collected from Instagram.
Step 2: Setup SnapUp feature
With the SnapUp feature, you can ask customers to directly upload content on your social walls using a link or QR code.
- Now on your screen you will see this “SnapUp” feature; click on that.
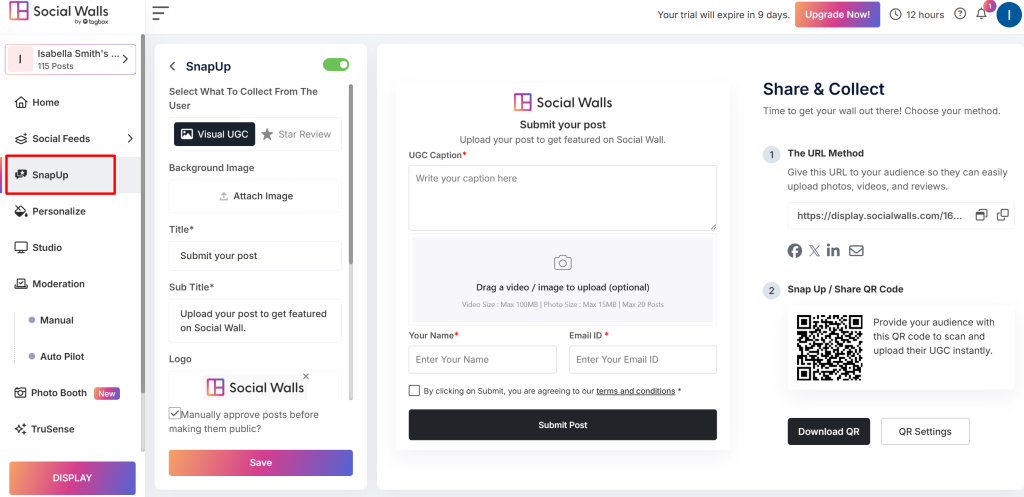
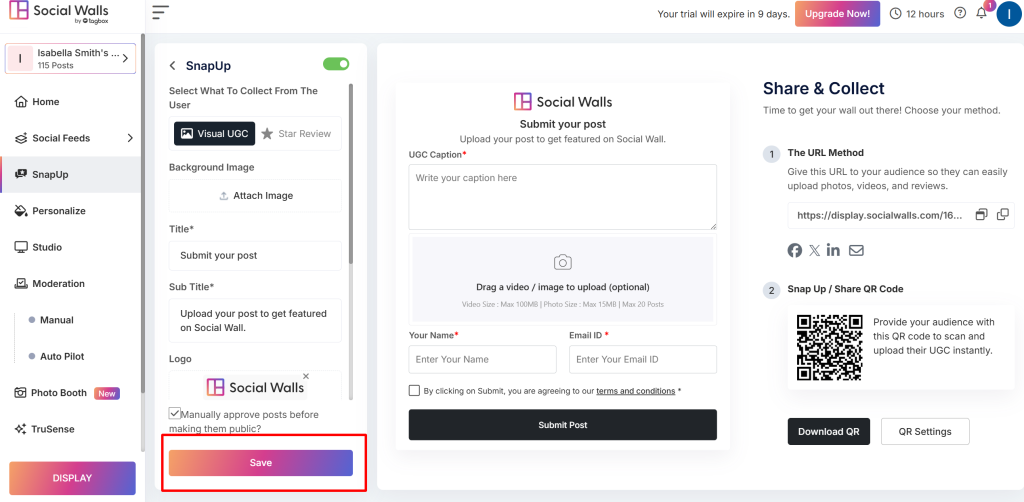
- You can personalize your SnapUp form as per your requirements. After the changes, click on “Save.”
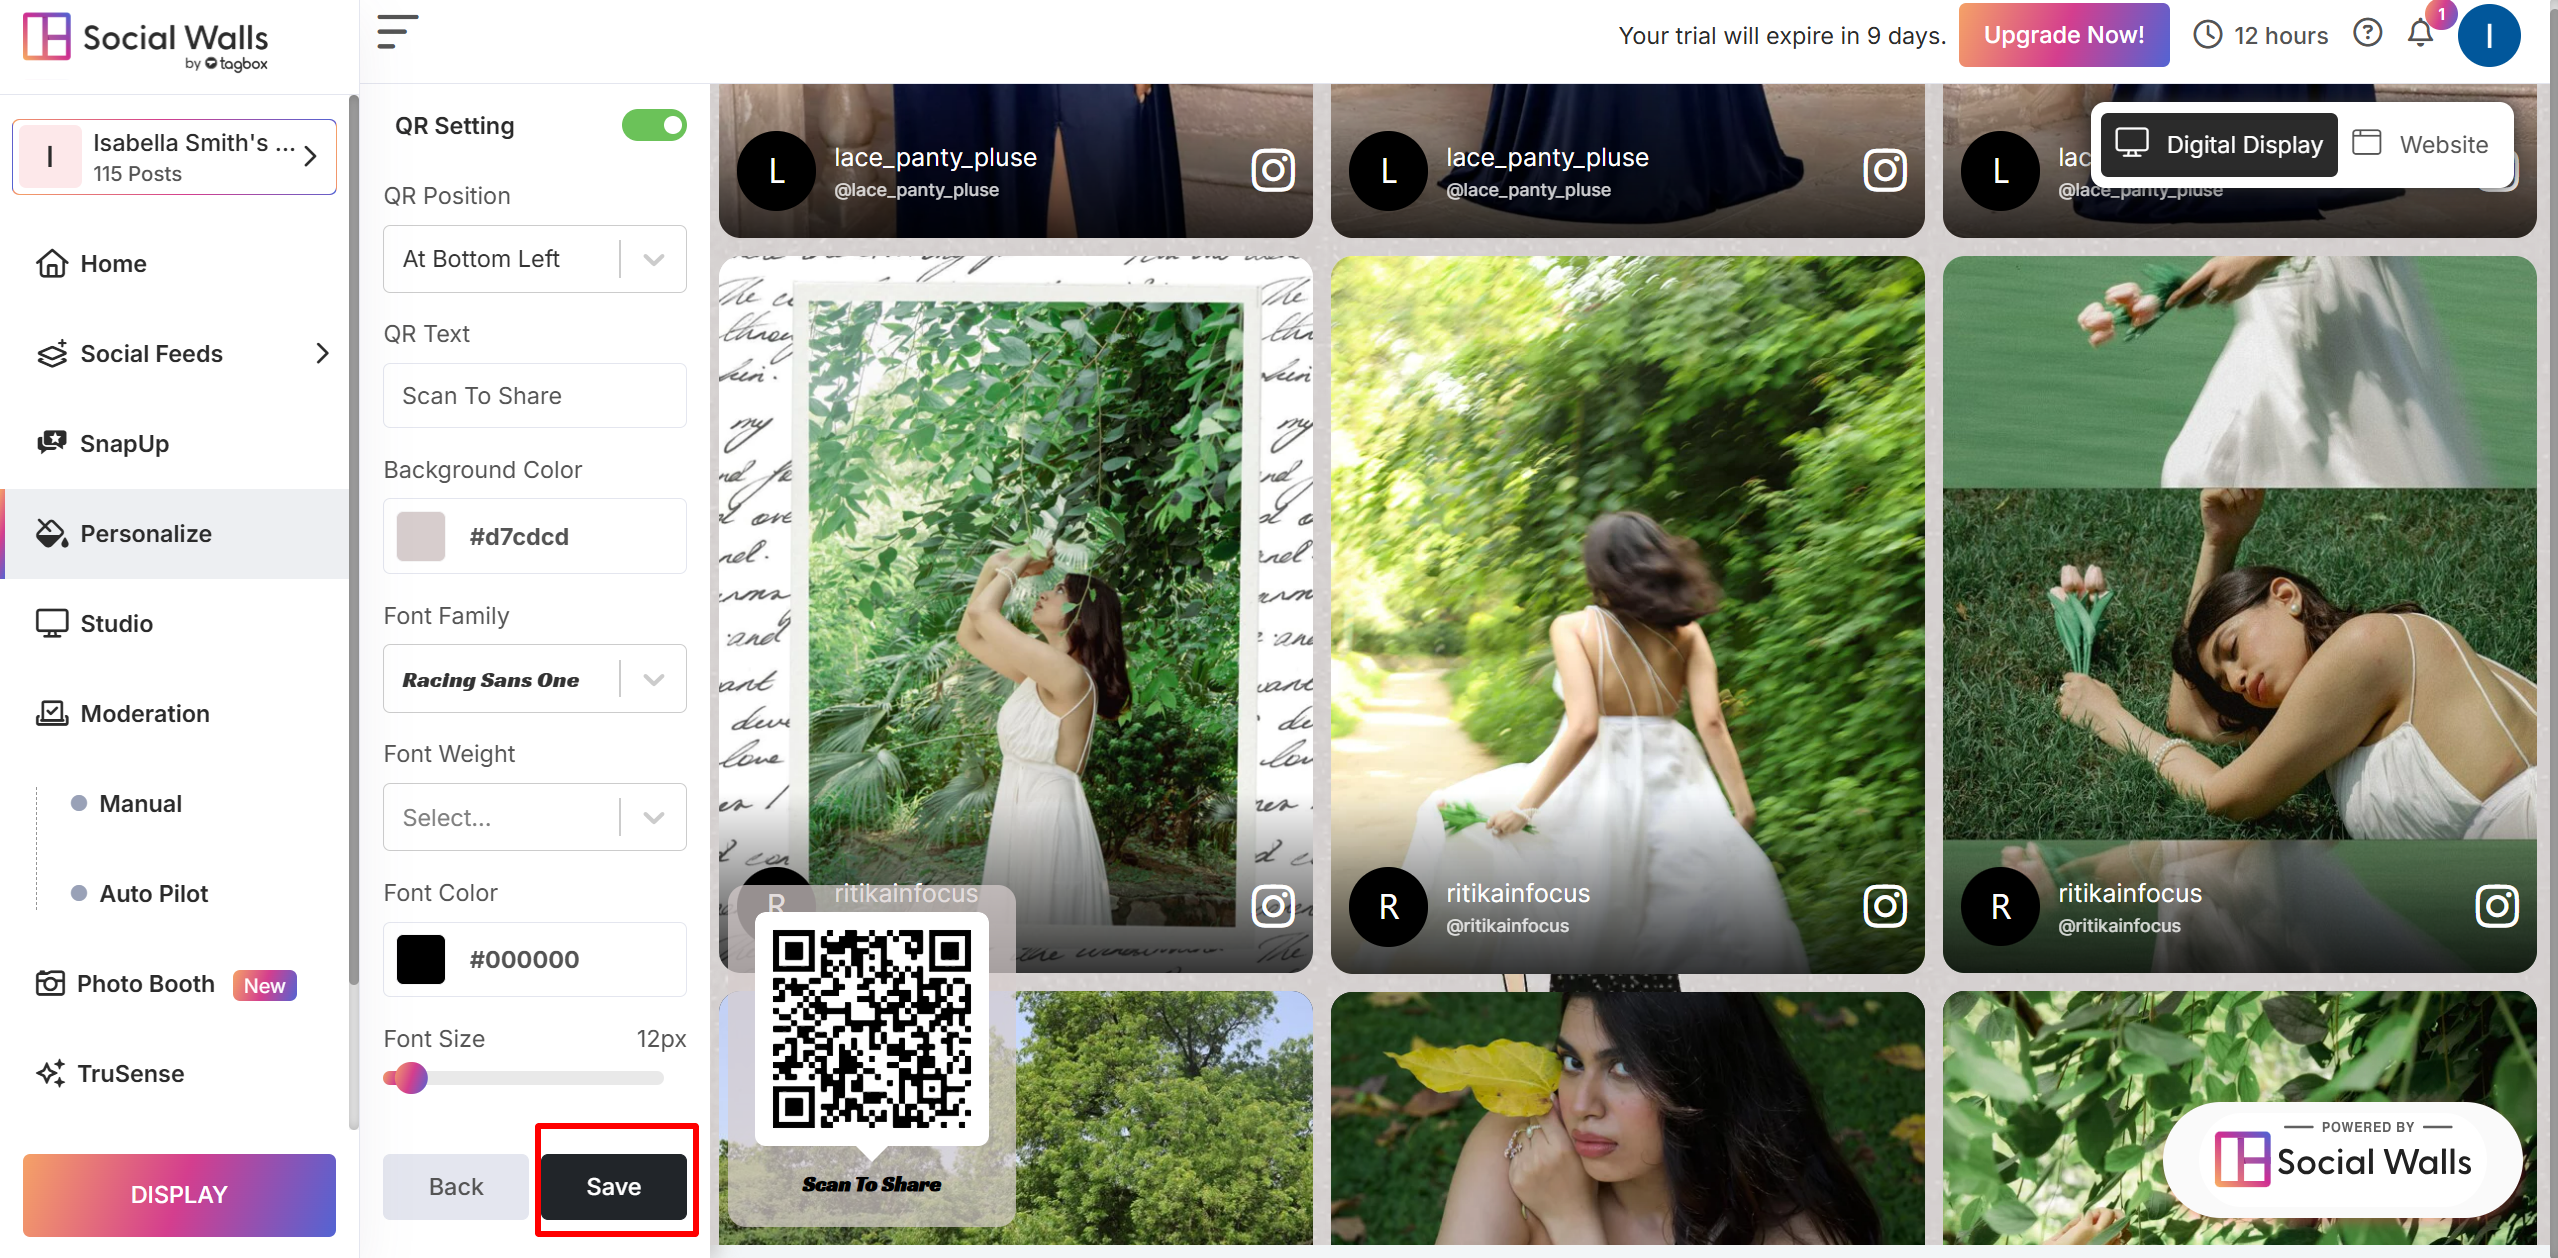
- Than, Go to “Personalize Option” and Click on “QR Setting“.
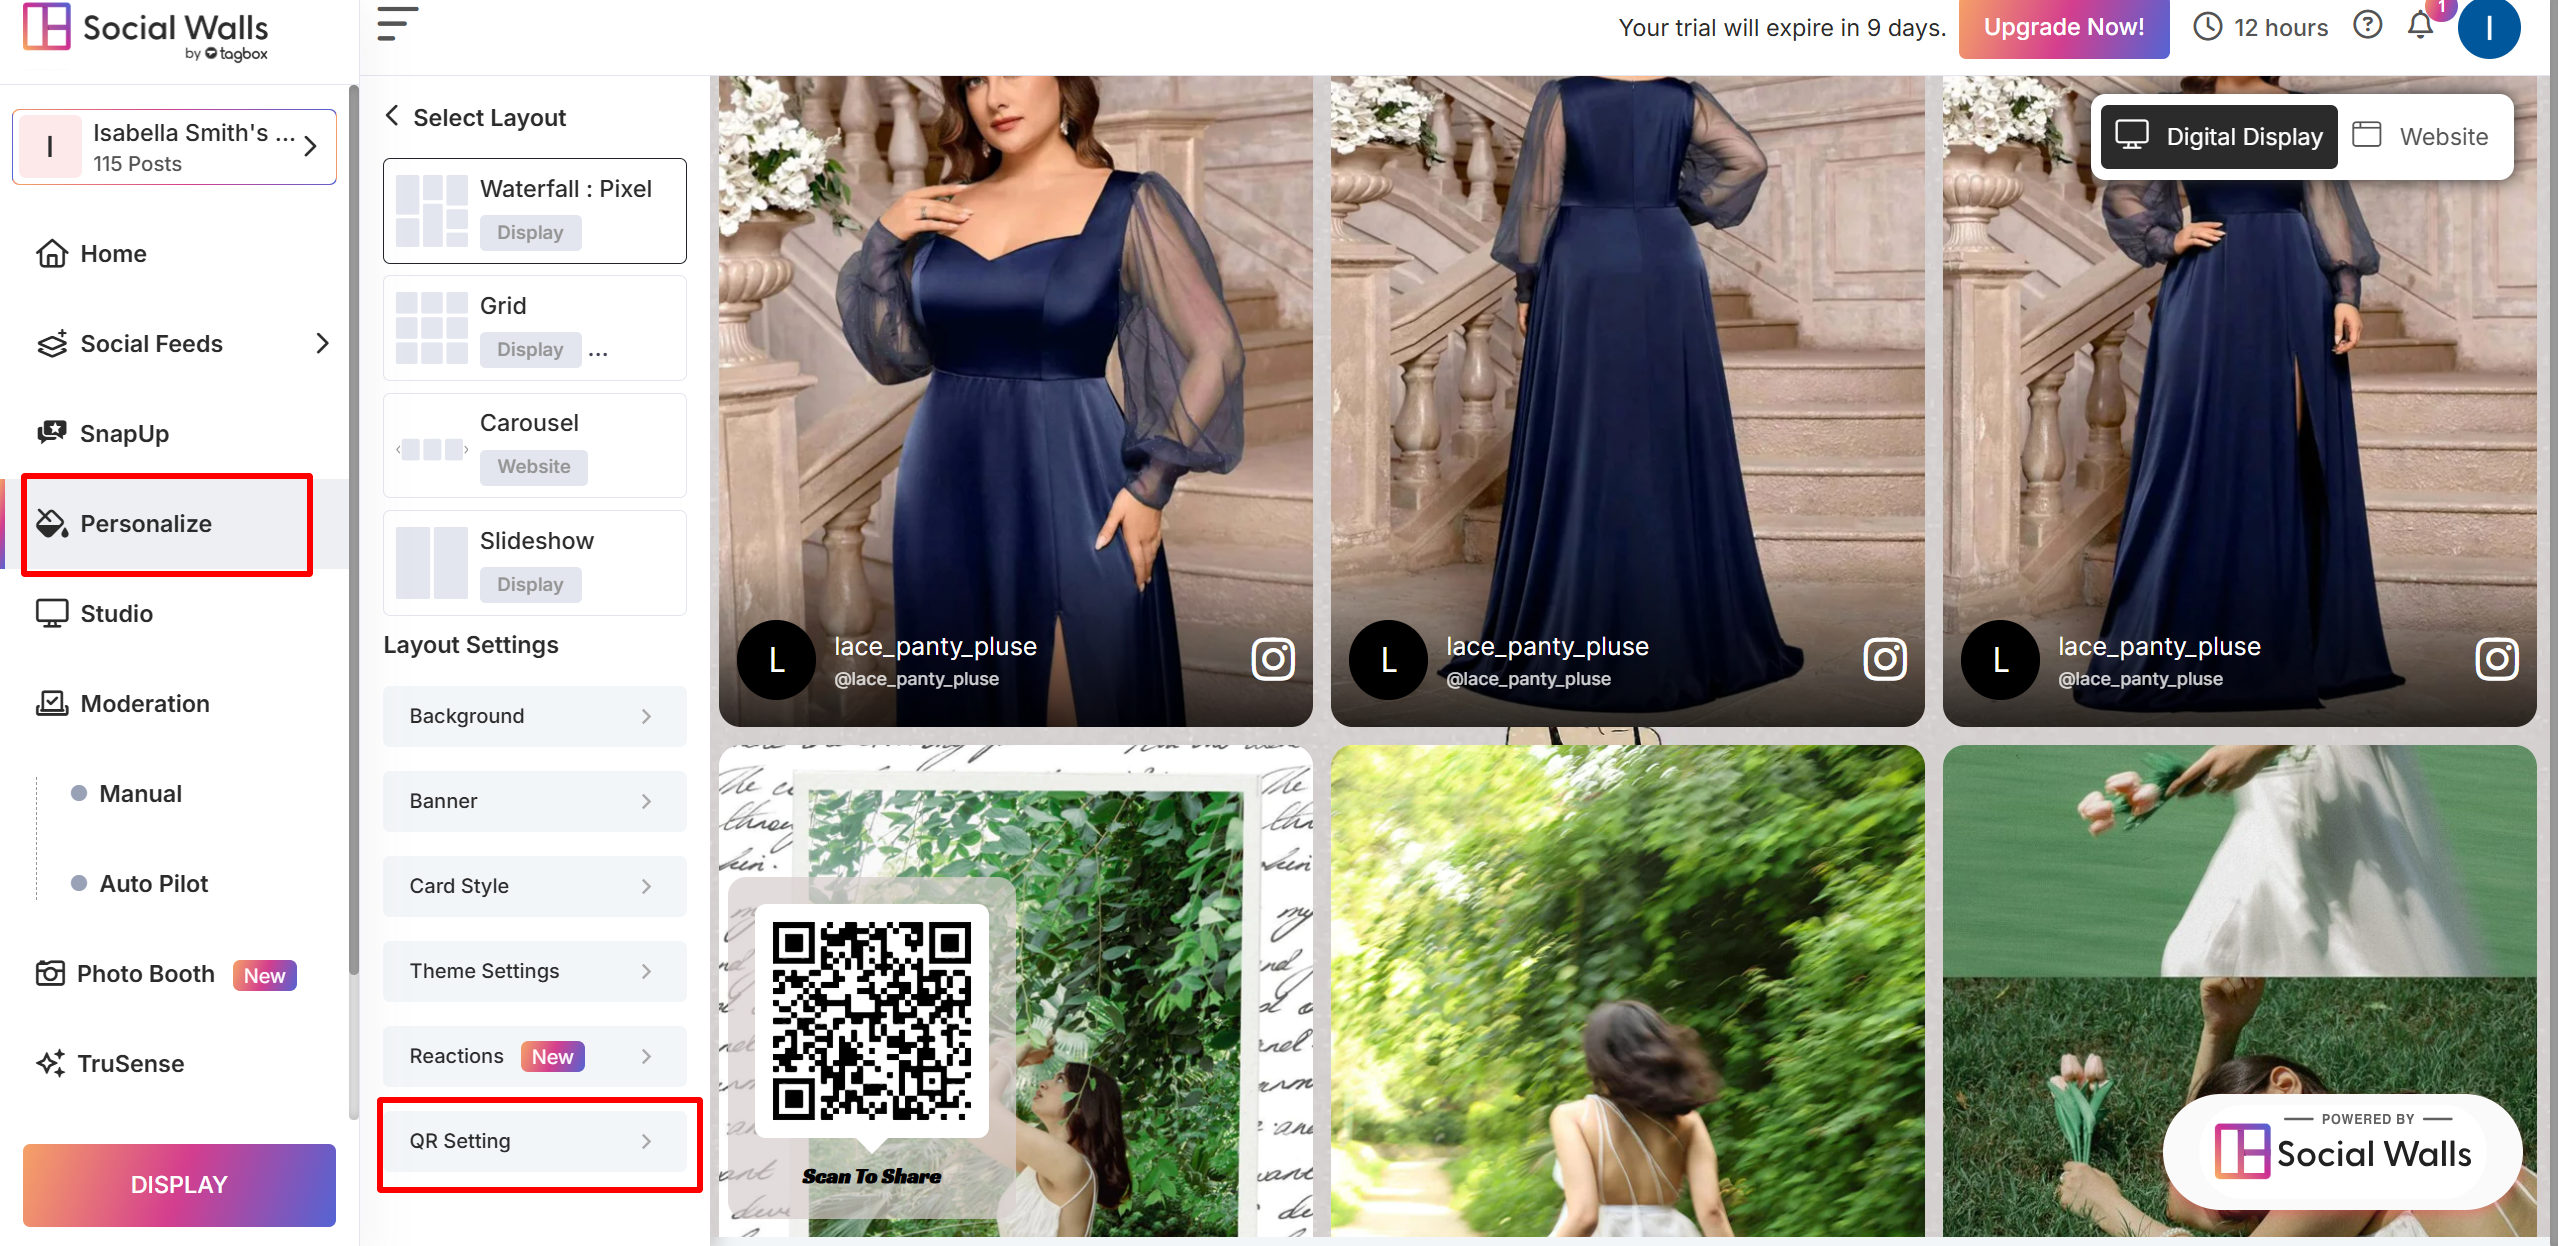
- You can change the properties of the SnapUp QR code display, such as the text below the QR, the background of the QR, text color, etc. and click on “Save“.
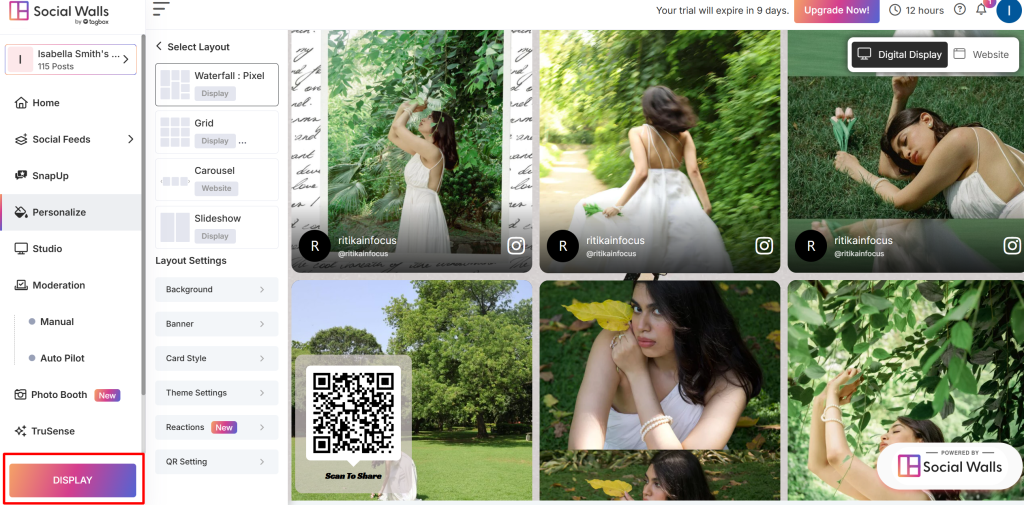
- Next, go to the “Display Option,” where you will get different options like “Website,” “Digital Display,”.
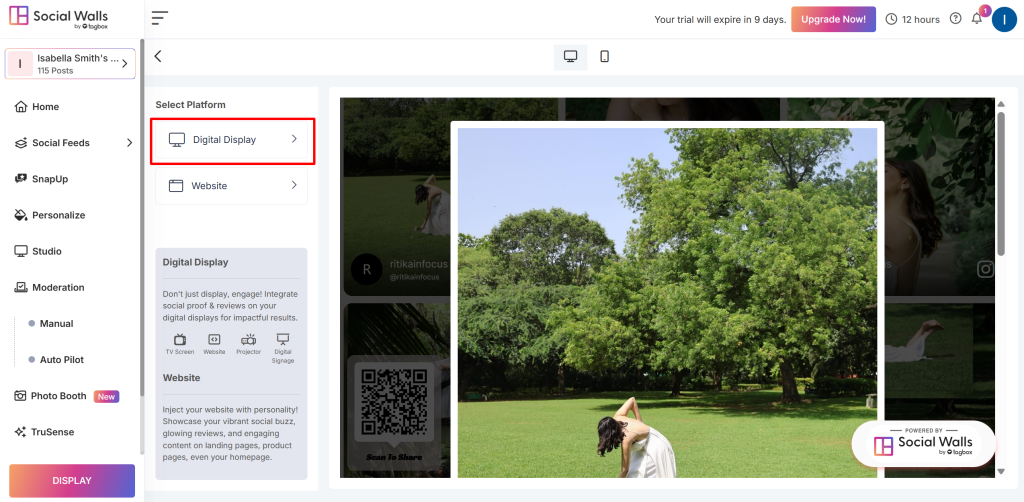
- To showcase your content on digital signage at an event, you can choose “Digital Display.”
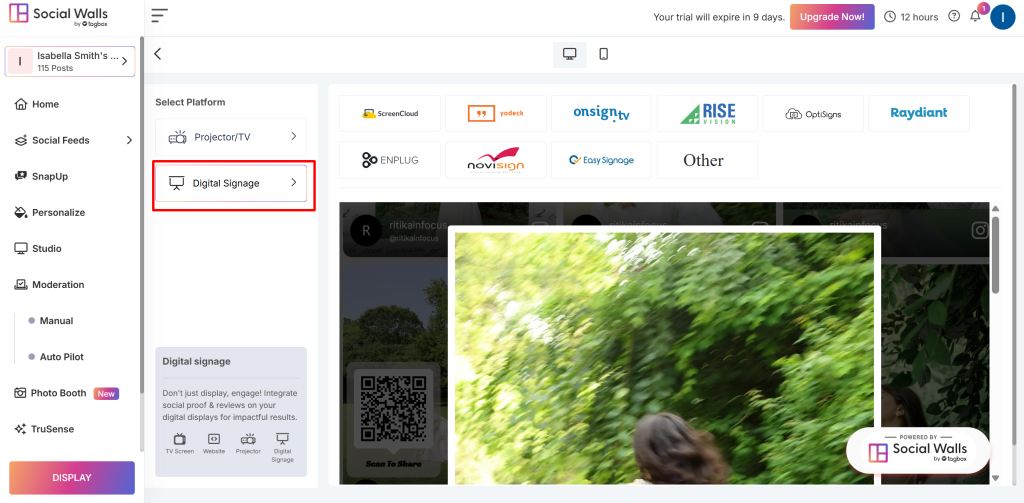
- Now, Click on “Digital Signage” and choose one option and display your feed.
Well done! You now know how to set up SnapUp to collect content from your event attendees.