Moderation Panel
Moderation Panel is useful when you are using hashtag connections and other public networks. There you can’t control the feeds and might be not able to get relevant or appropriate content every time. Moderation gives you complete authority to filter your real-time feeds. You can review and approve content before they go live.
When you select “Manually approve posts before making them public” before creating feed then all the feeds go into Moderation panel where you can approve all the feeds manually.
Follow The Steps To Moderate Your Social Walls:
Step 1: Log in to Social Walls and create your feed
- Sign up to create an account on Social Walls if you are new. Existing users can simply log in.
- After Login you will be landed on the Social Walls Dashboard.
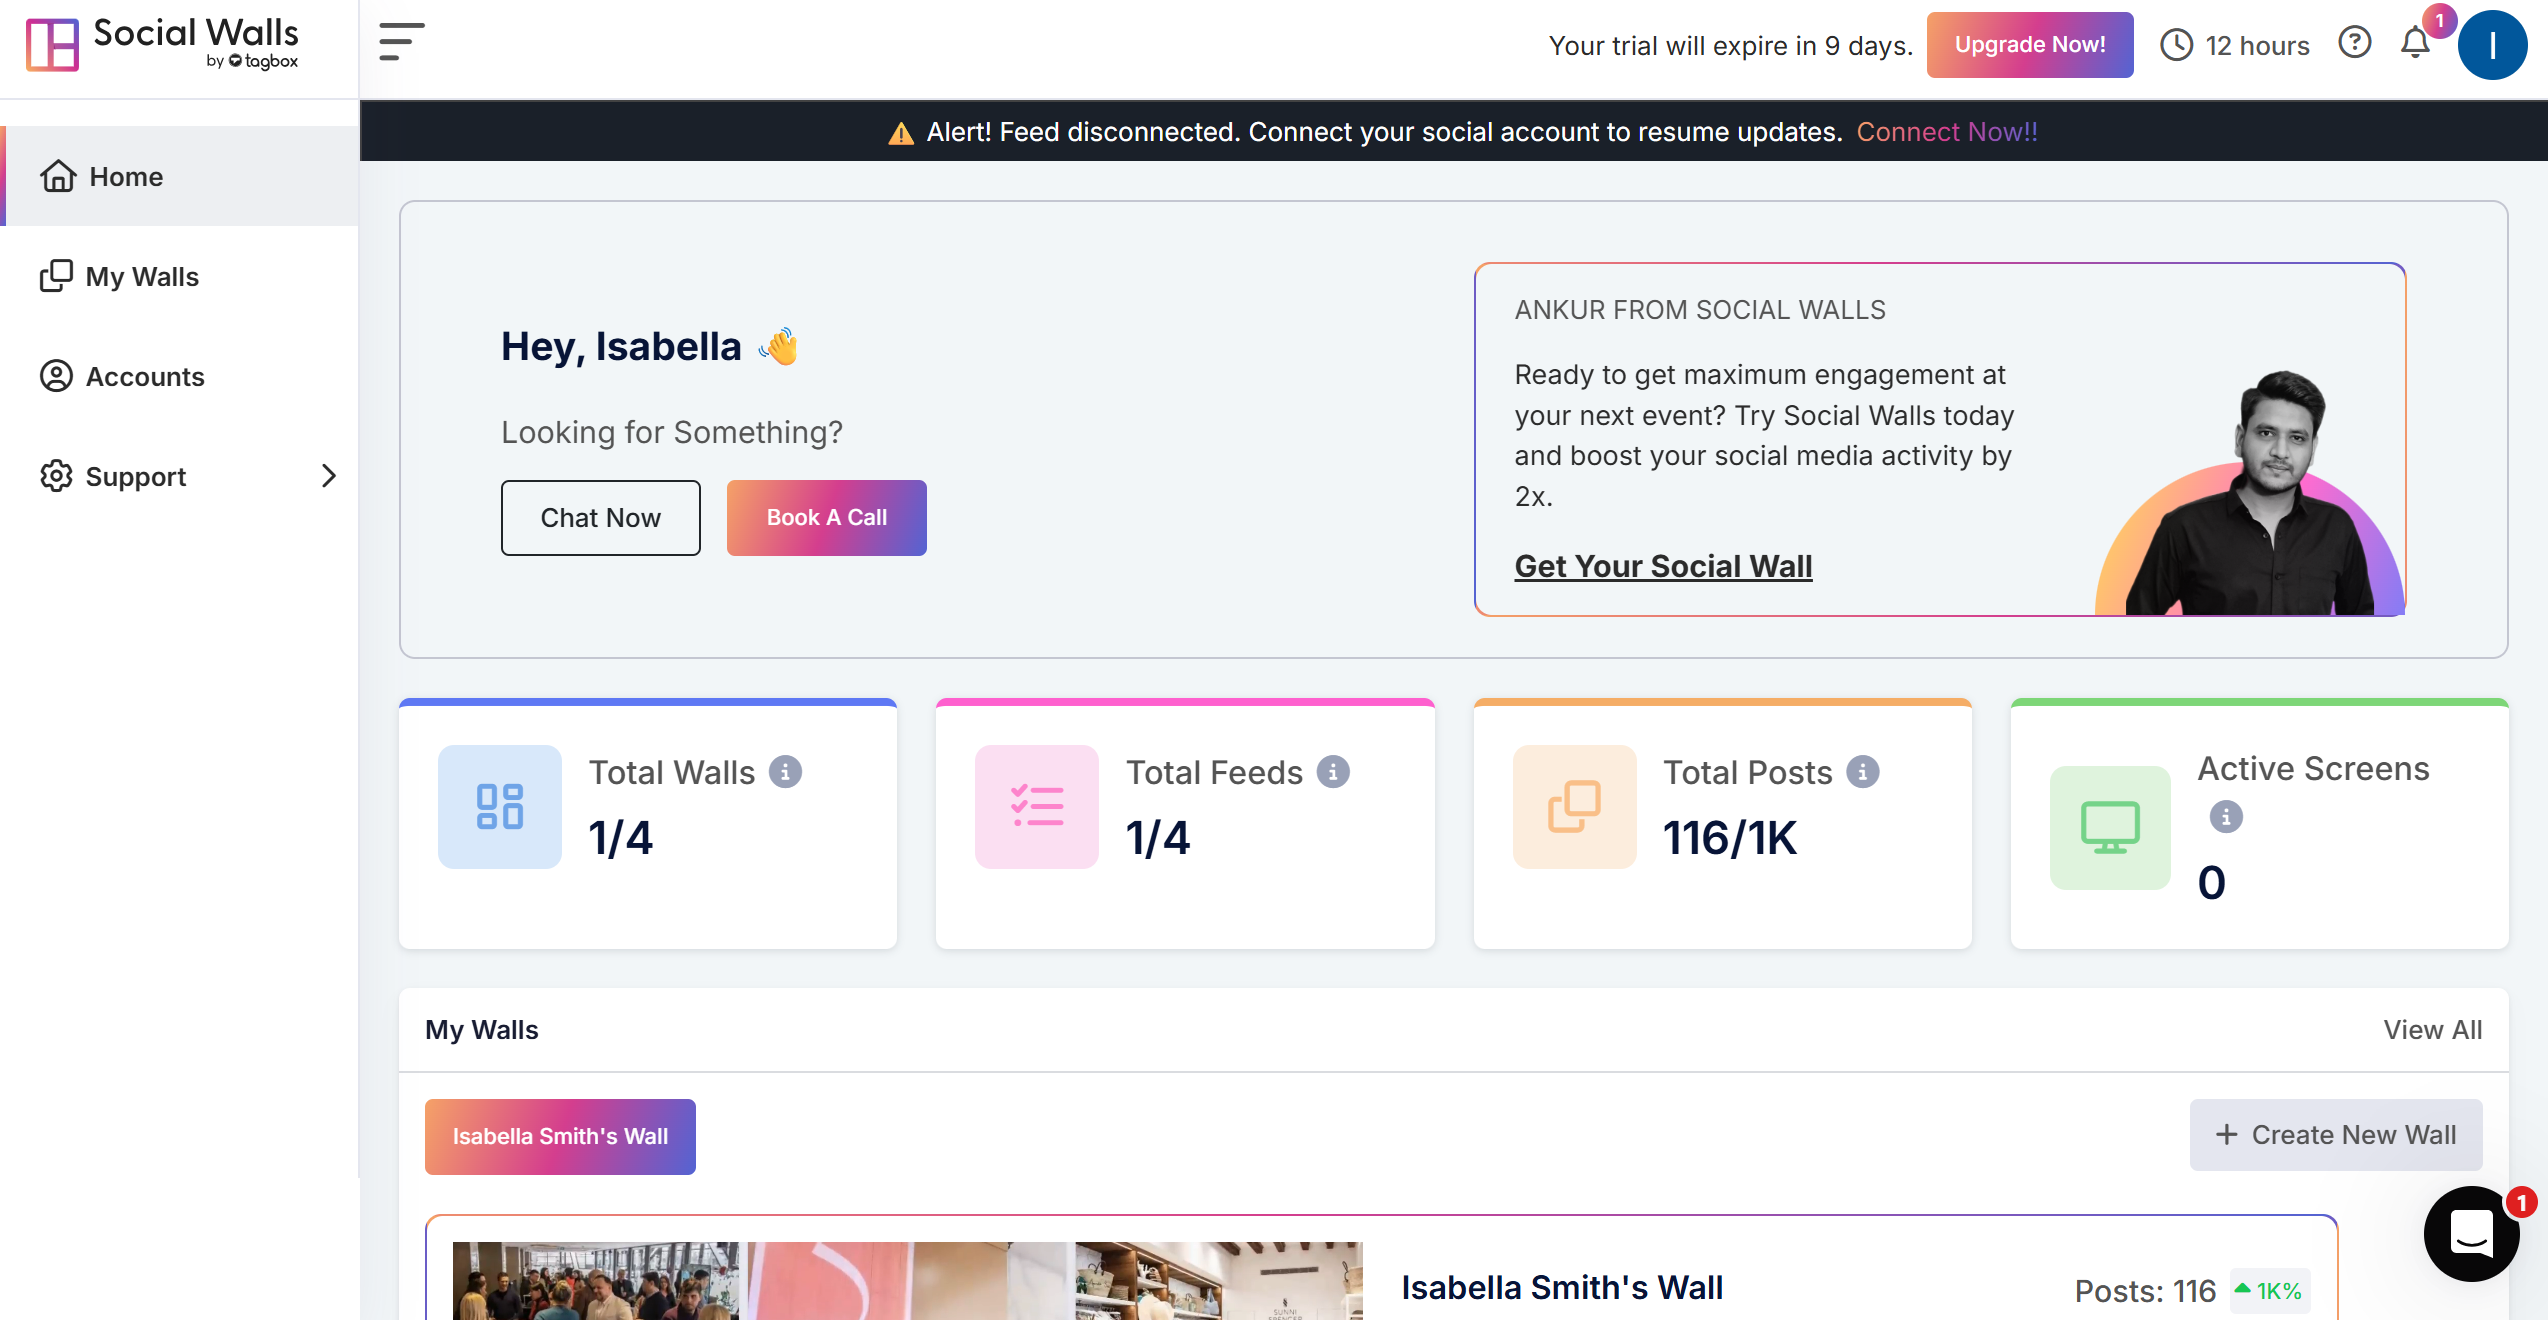
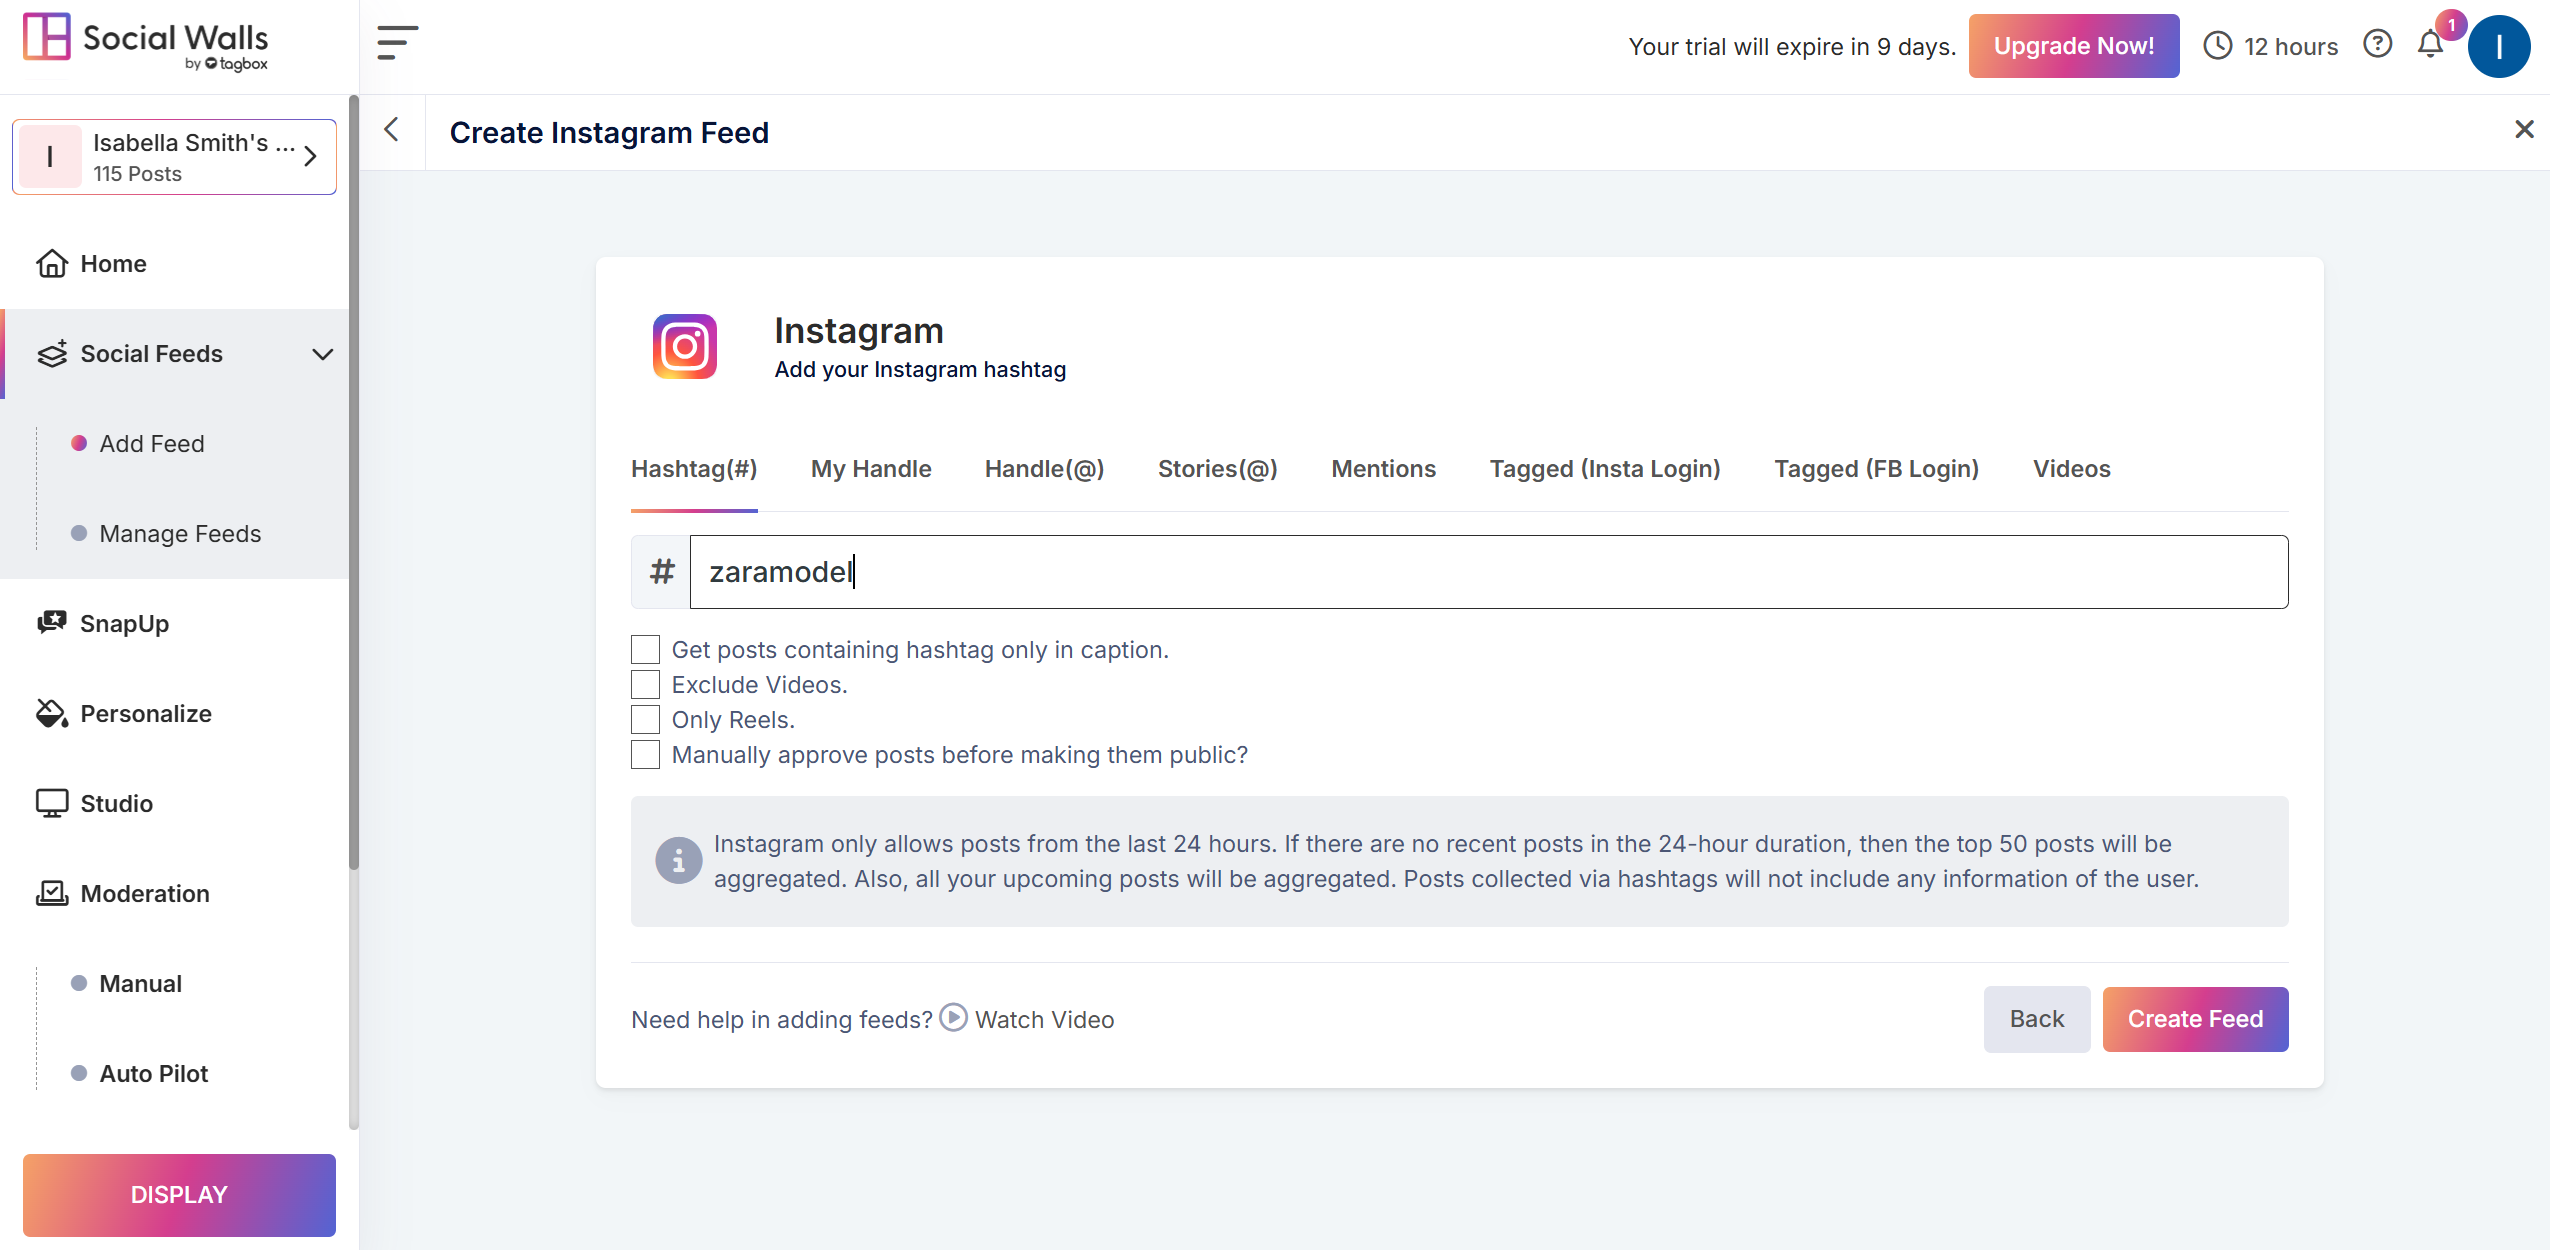
- Now, create your feed for which you have to choose your preferred network. For this example, let’s choose Instagram.

- Next, you will get a few options of connection type to fetch content, like hashtags, my handle, mentions, stories, etc. Let’s go with hashtags.
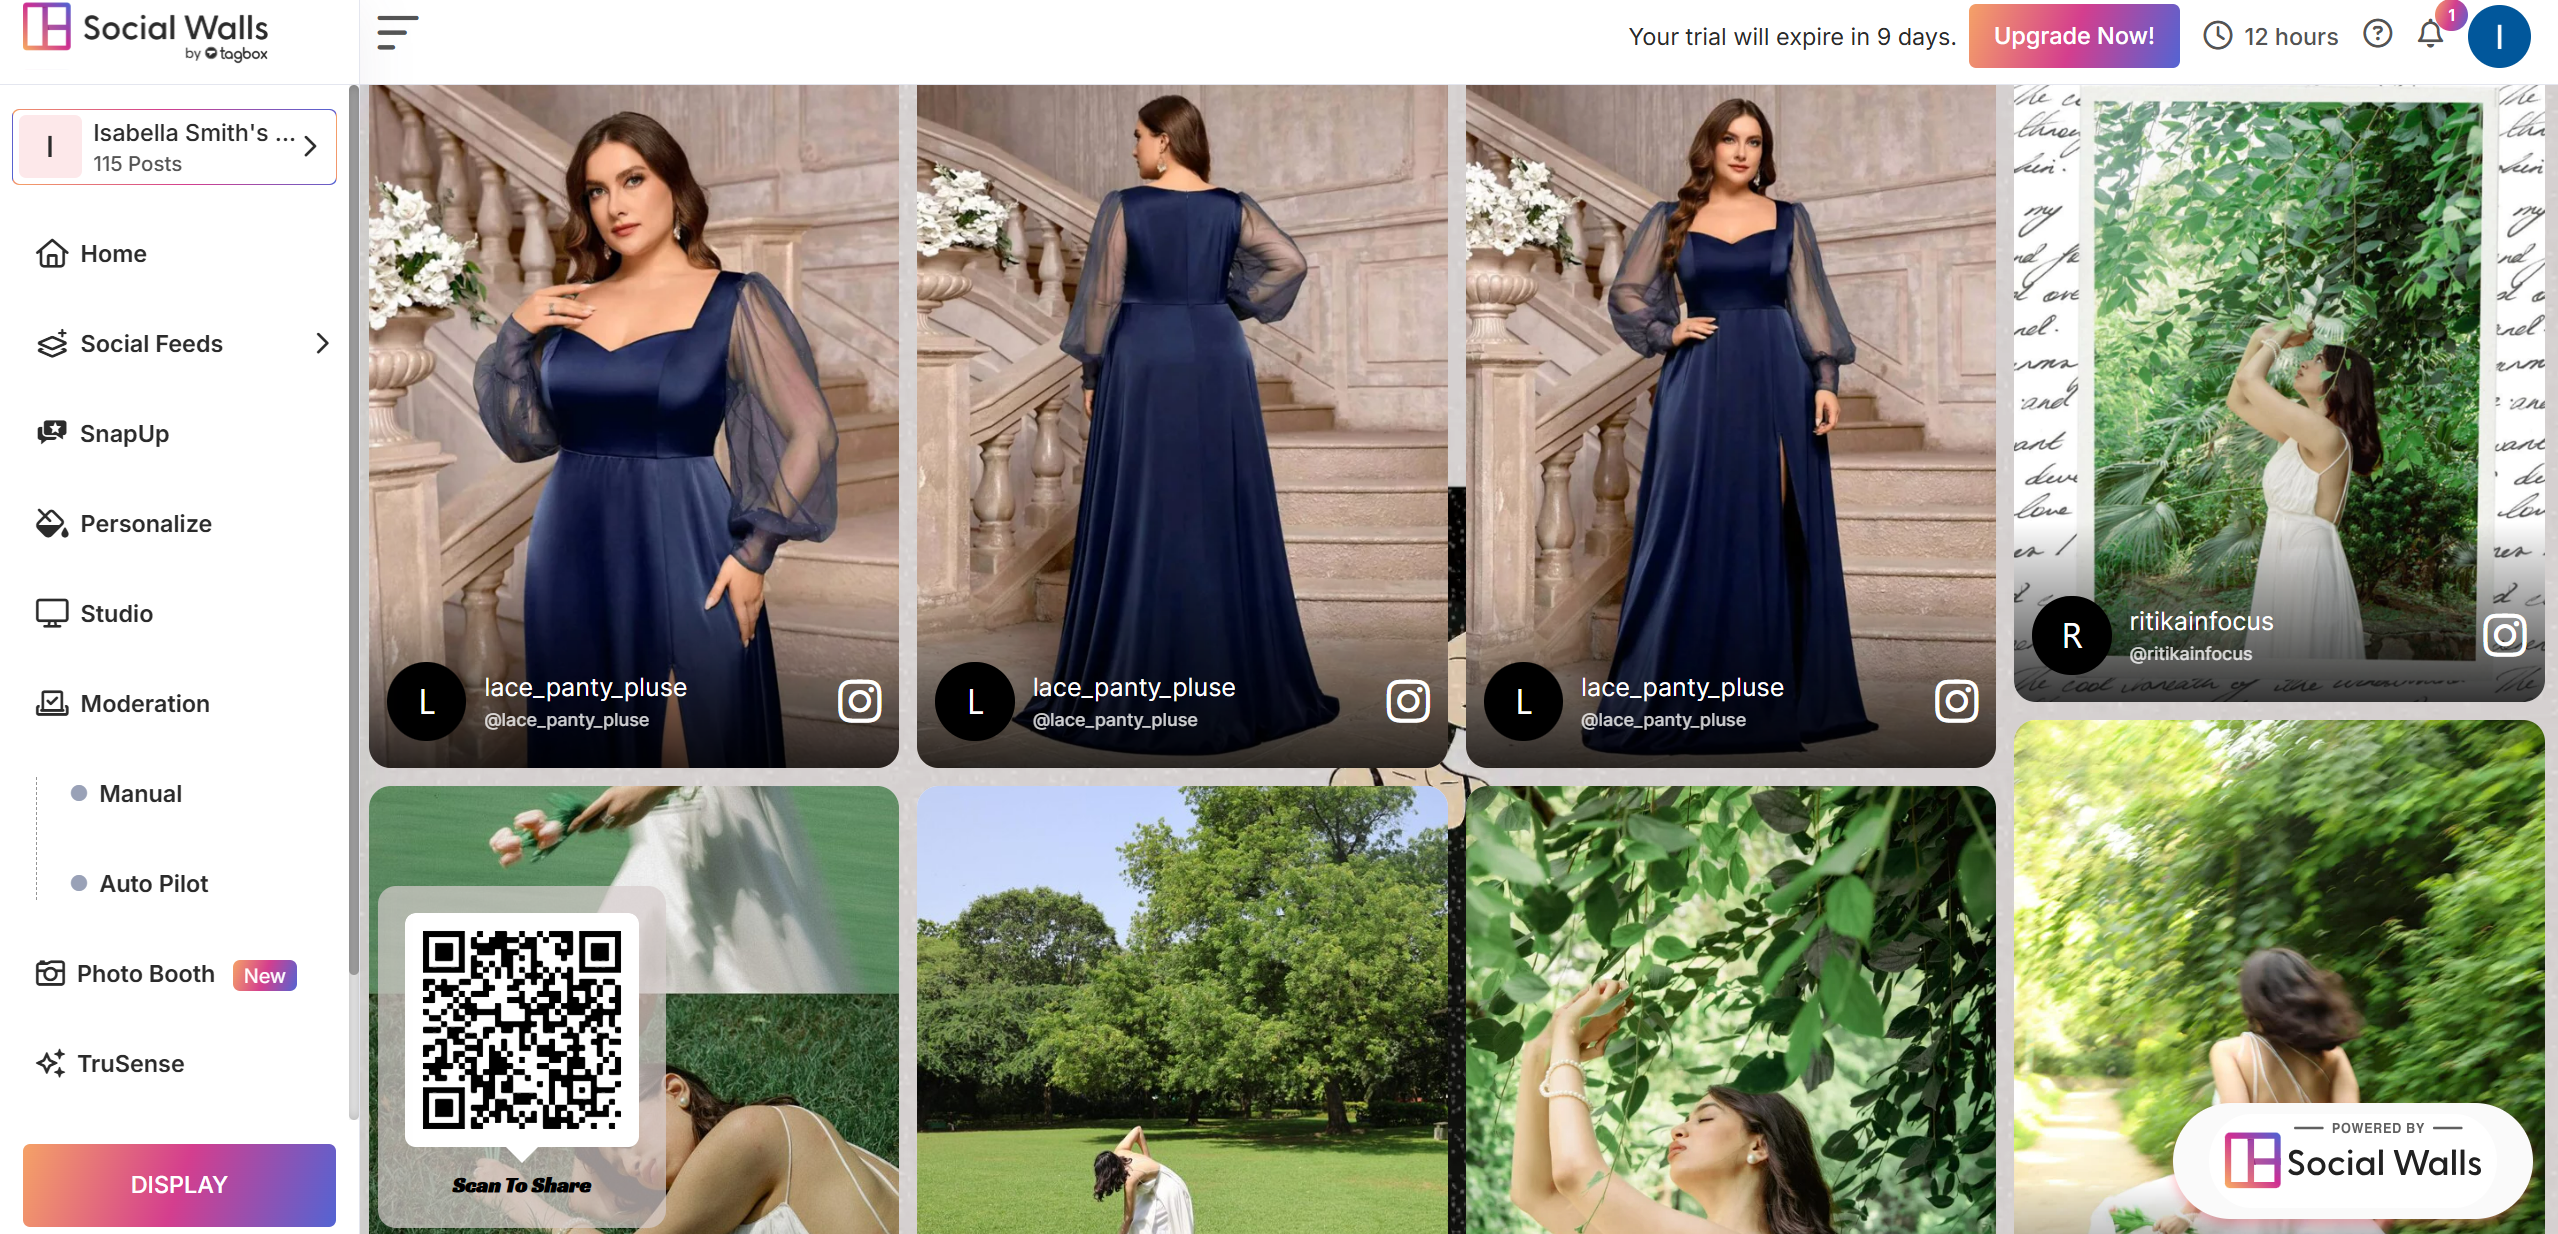
- In the next step, you can see that your feed is ready with all the content that you can see on your dashboard.
Step 2: Moderate your feed
Moderation is needed to ensure you display the best content on your feed and avoid irrelevant content.
- Now on your screen you will see this “Moderation” option. You can moderate your feed both manually and using autopilot mode.
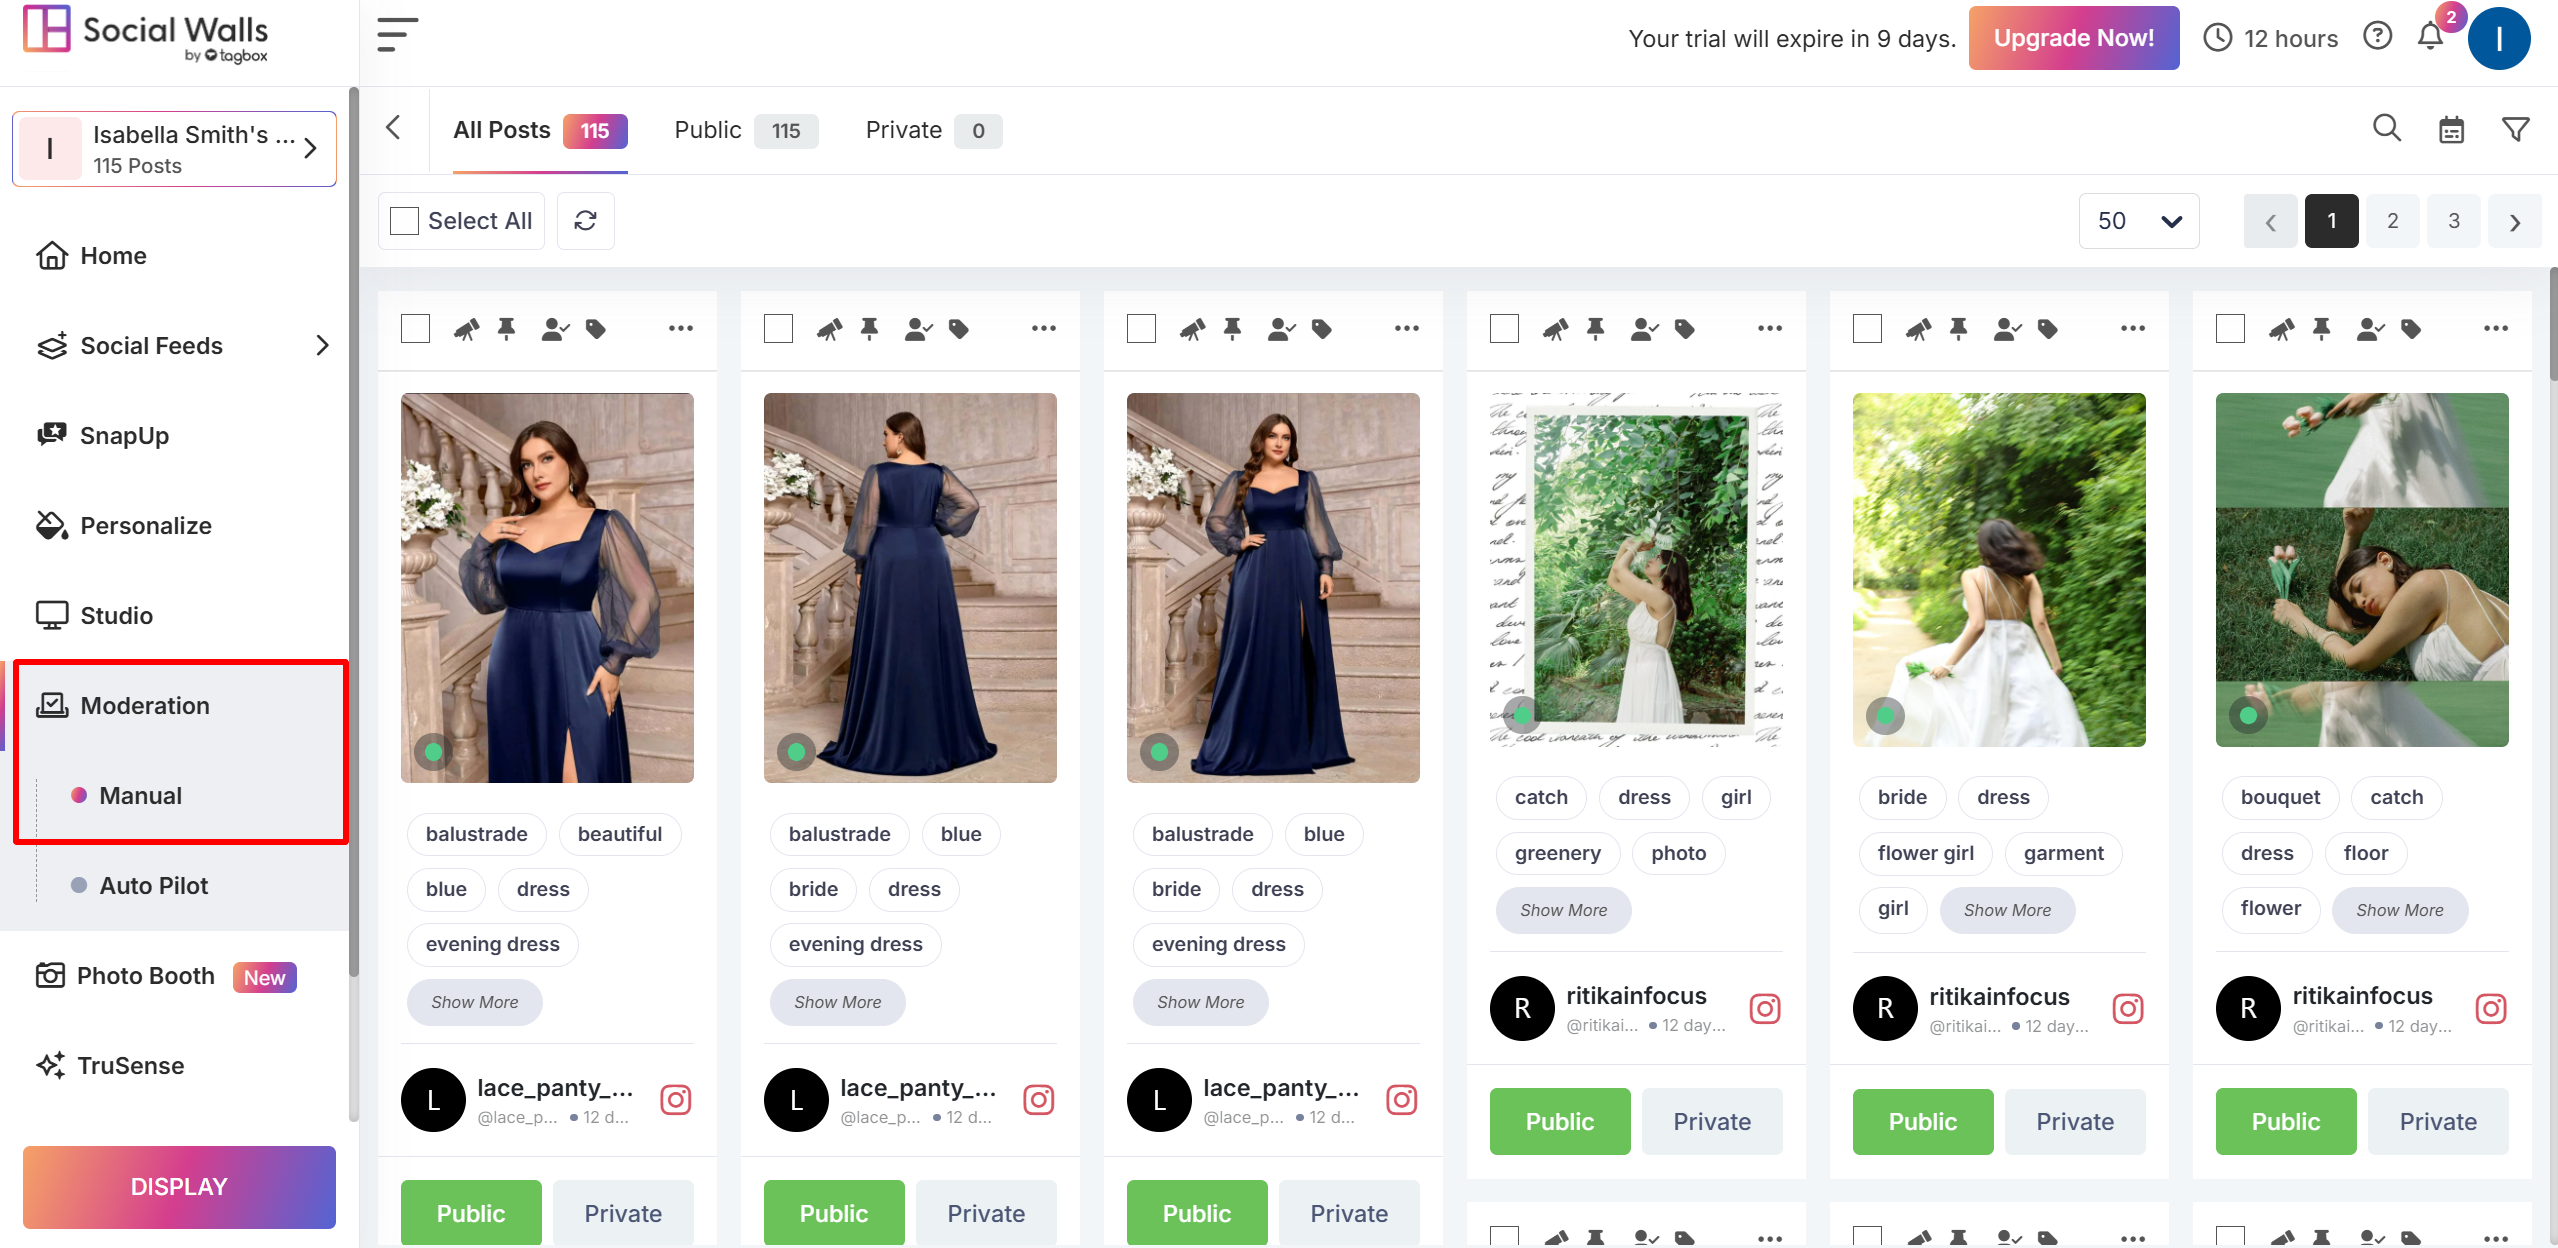
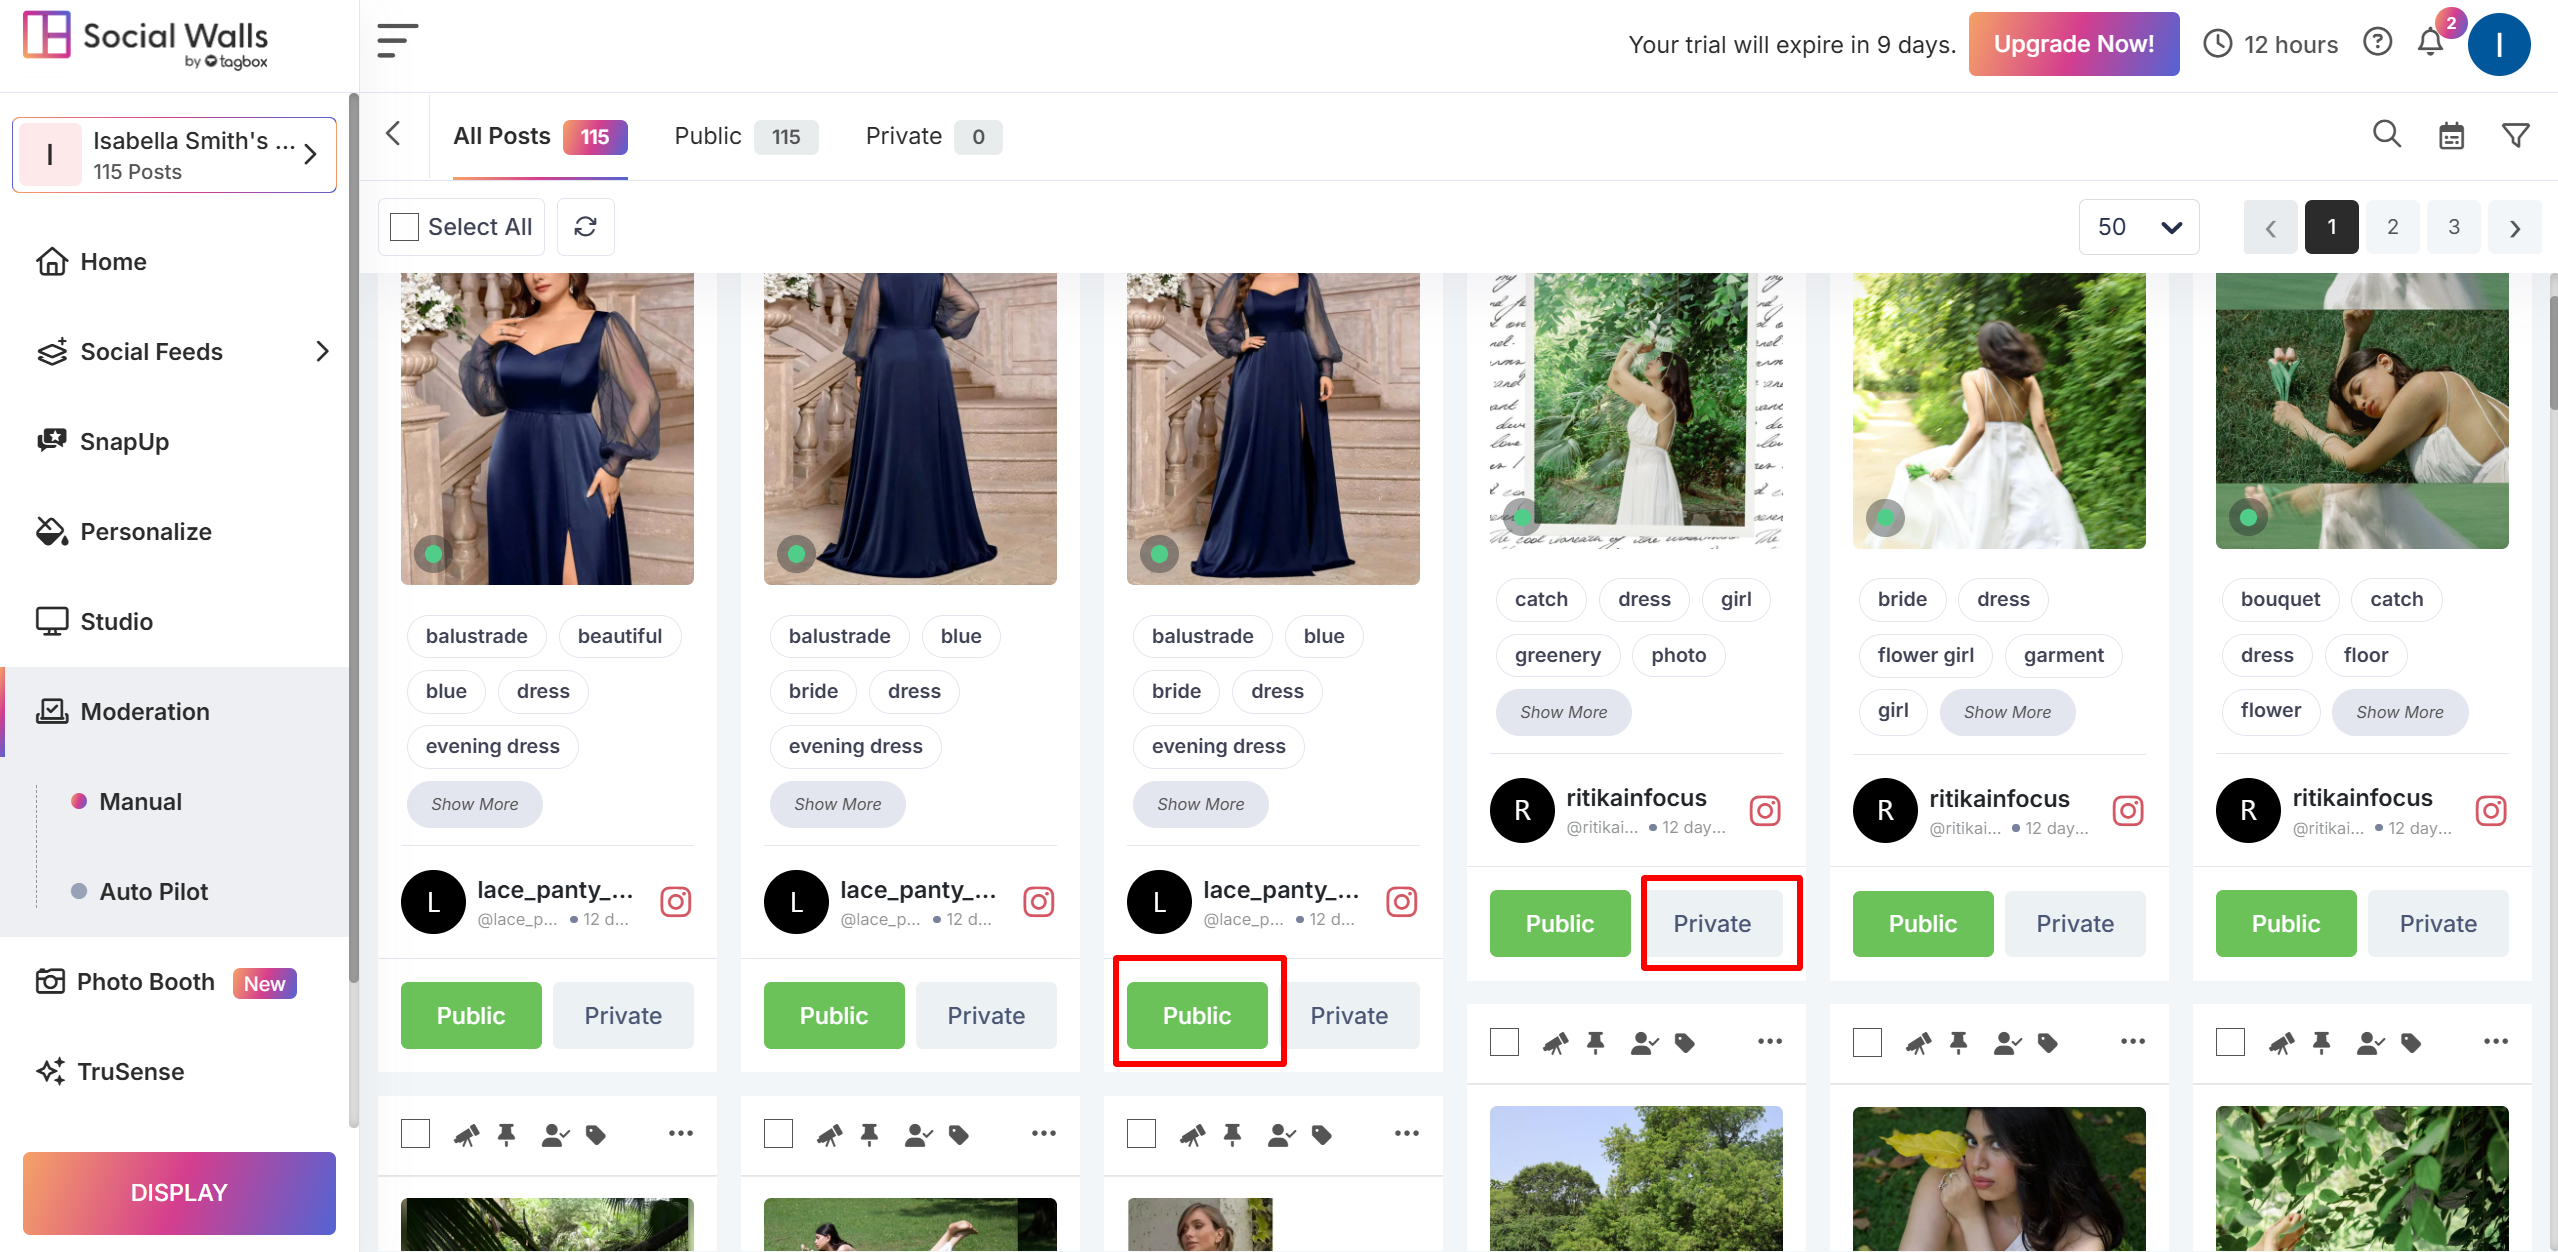
- For manual moderation, select the content you want to keep, “Public” or “Private,” and click the button accordingly.
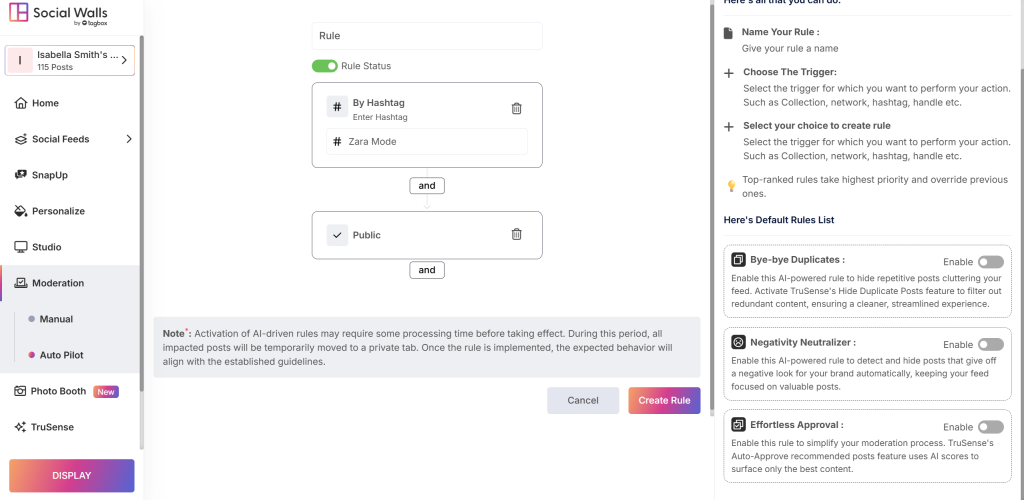
- Auto Pilot moderation, a new feature of Social Walls, lets users moderate their feed as per specific triggers and actions.
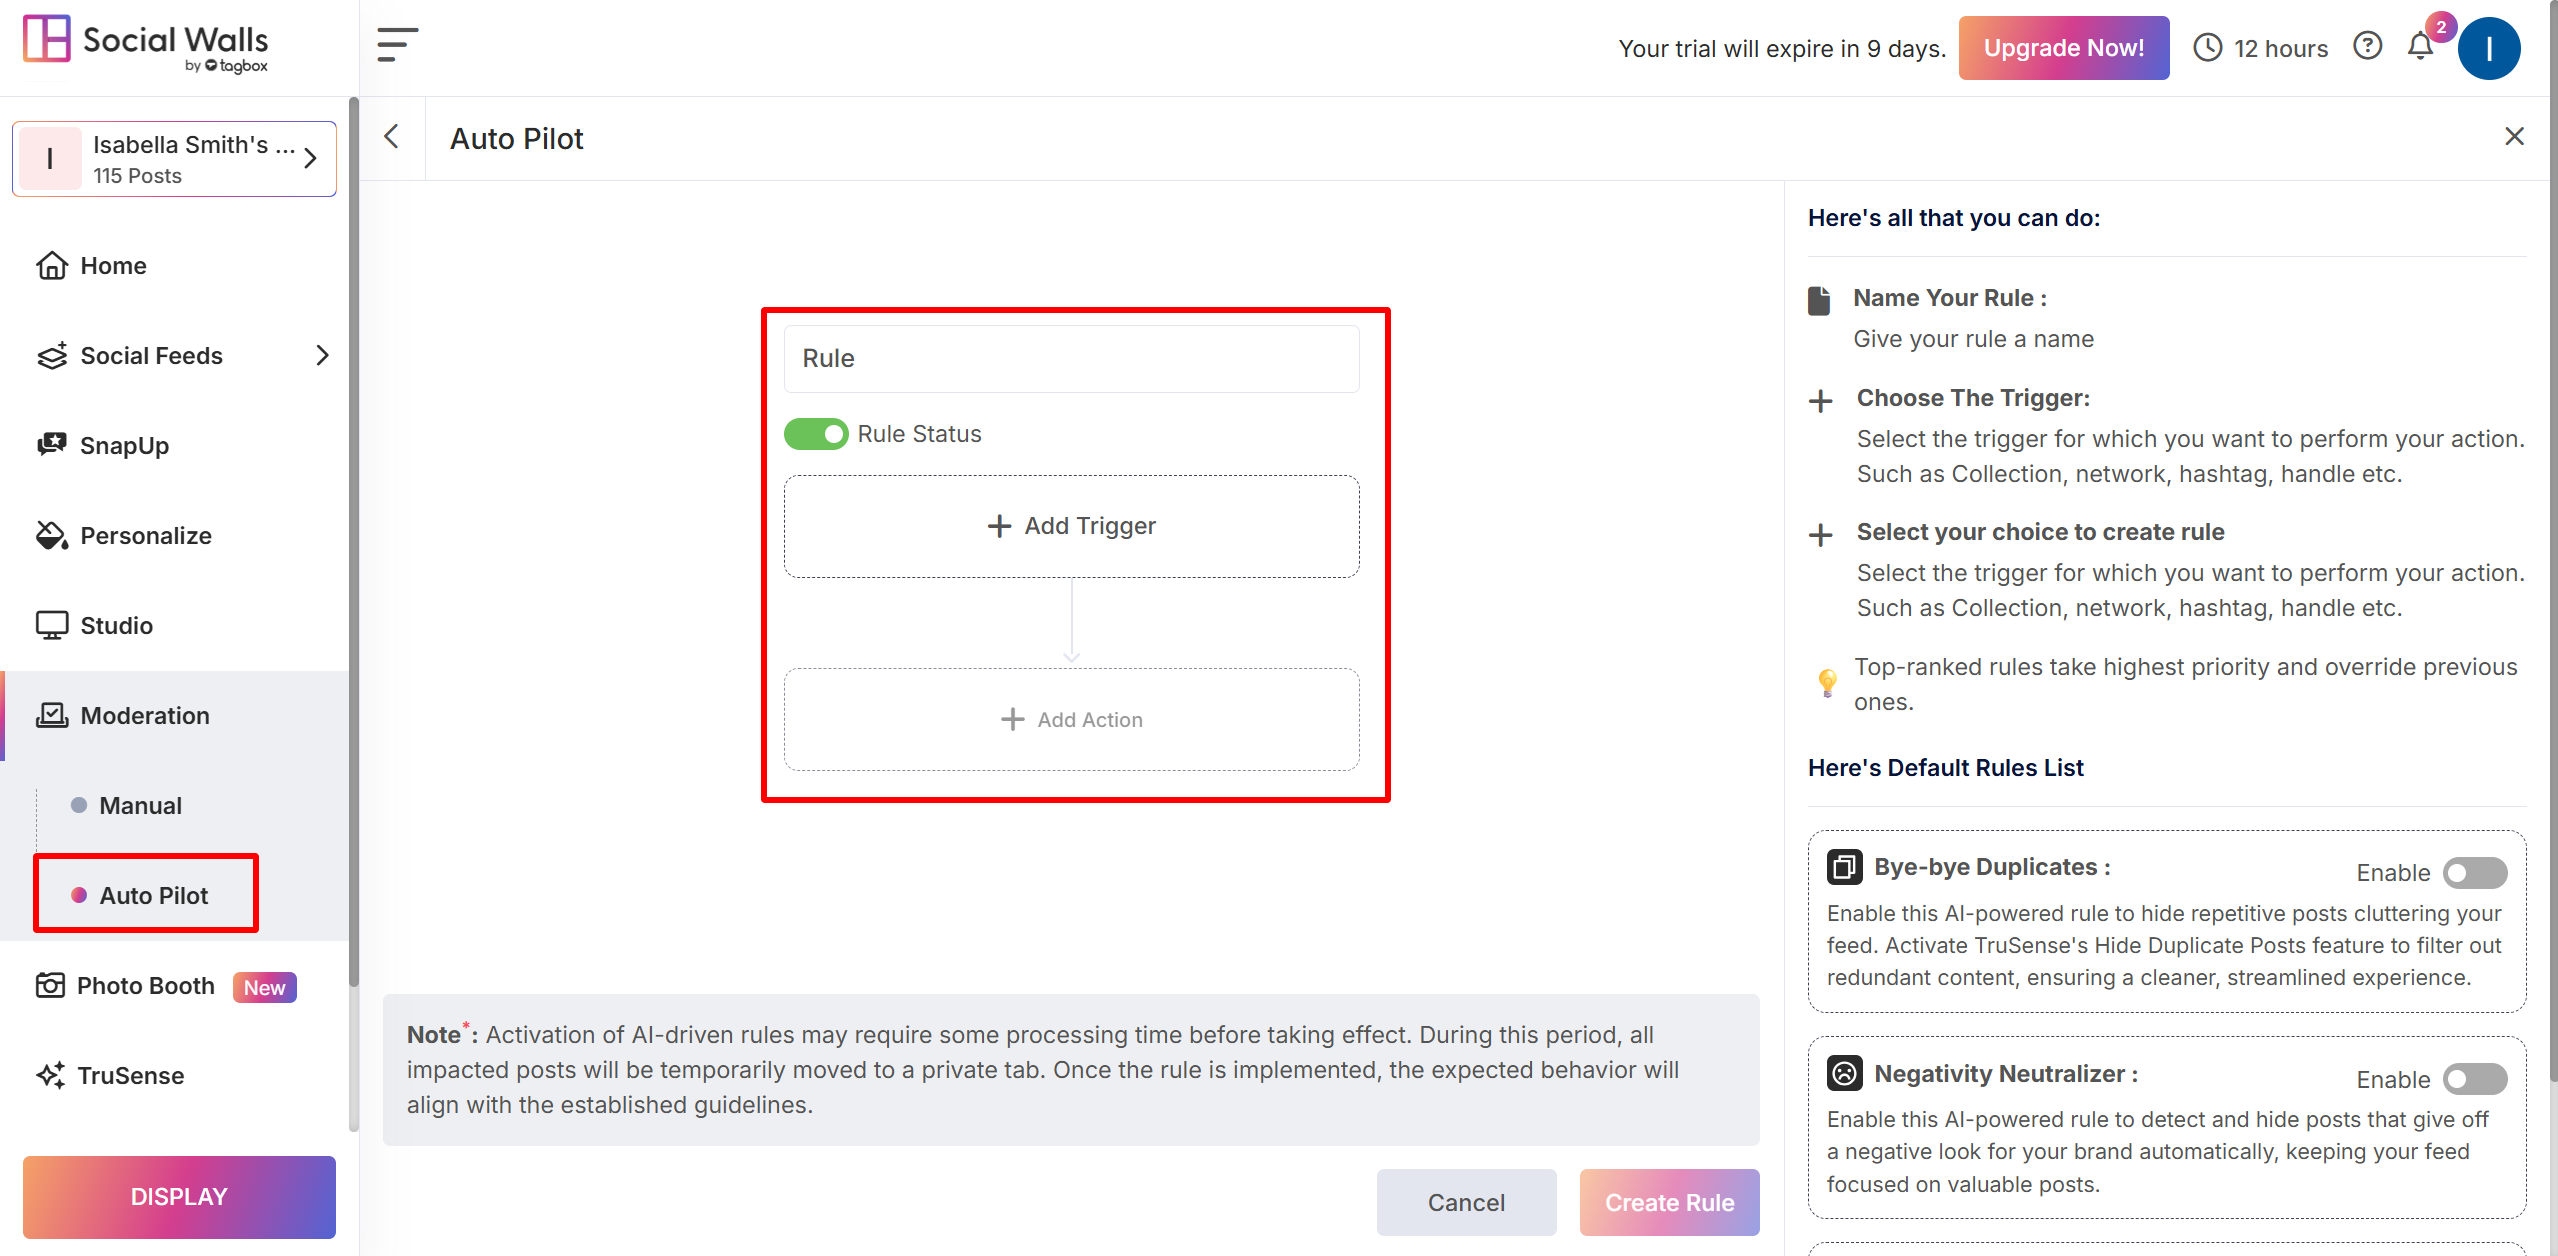
- Autopilot moderation is an innovative feature of Social Walls that enables automated moderation. This features allows you to use features like “Add Trigger” and then “Add Action.” Lastly, don’t forget to click on “Create Rule” to complete the process.
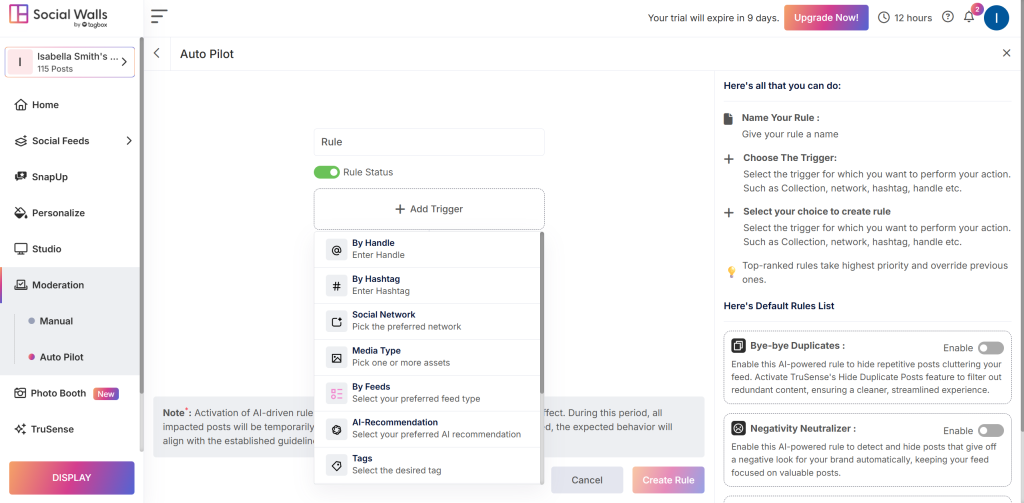
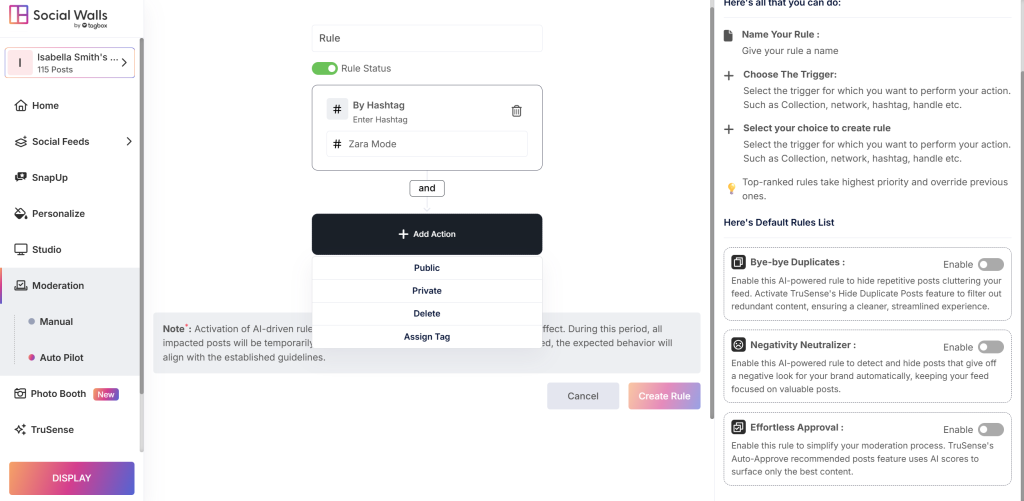
- This will automatically moderate the whole feed in real-time with the power of AI.
That’s it. This is how easy it is to moderate your feed and showcase it to the world just like you want with Social Walls.
