
Publish live UGC from your social media aggregator to OnSign, creating vibrant screens that inform, engage, and boost footfall instantly.
Step 1: First, log in or sign up for your Social Walls account to begin the setup process easily.
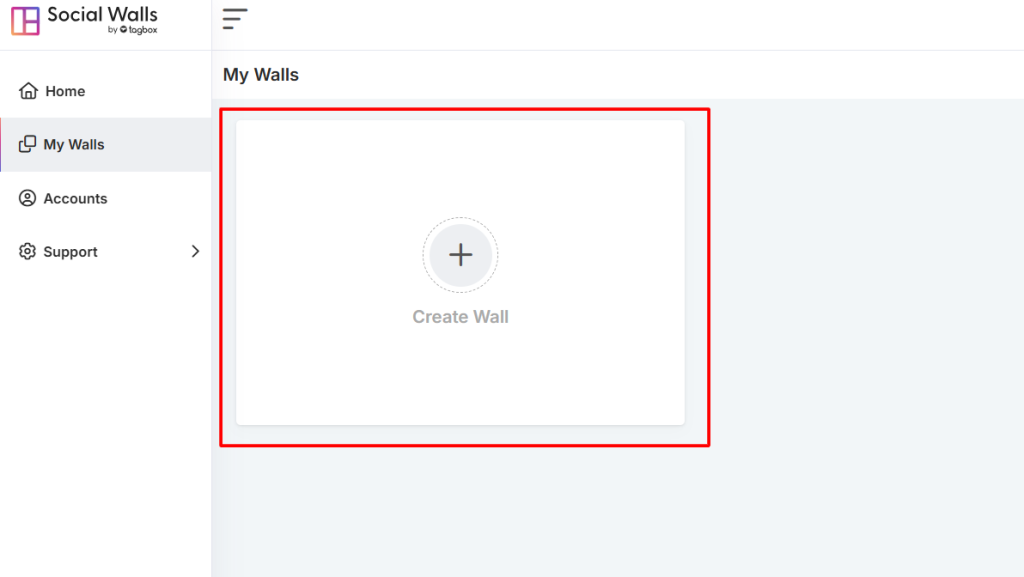
Step 2: Next, open your dashboard, click “My Walls,” and create a new wall instantly.
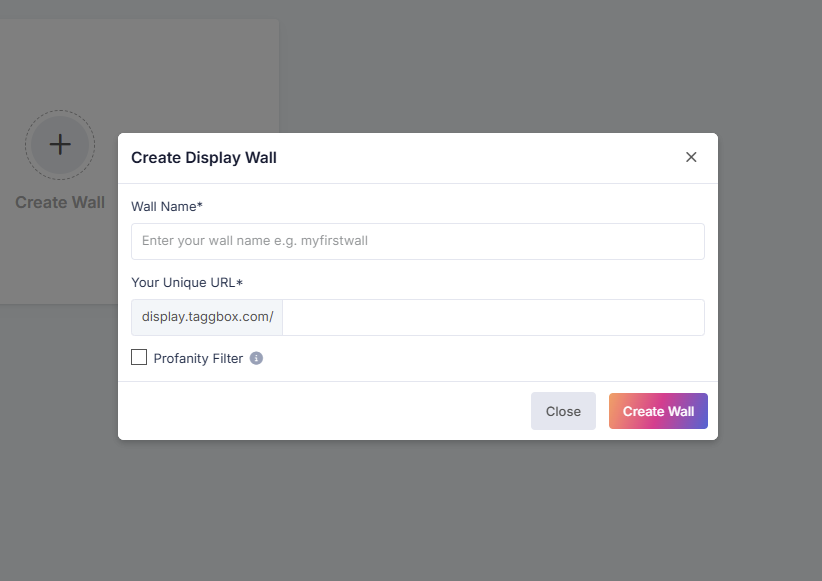
Step 3: Then, give your wall a meaningful name that reflects your event or campaign theme.
Step 4: Afterward, choose which social networks you wish to connect for live updates.
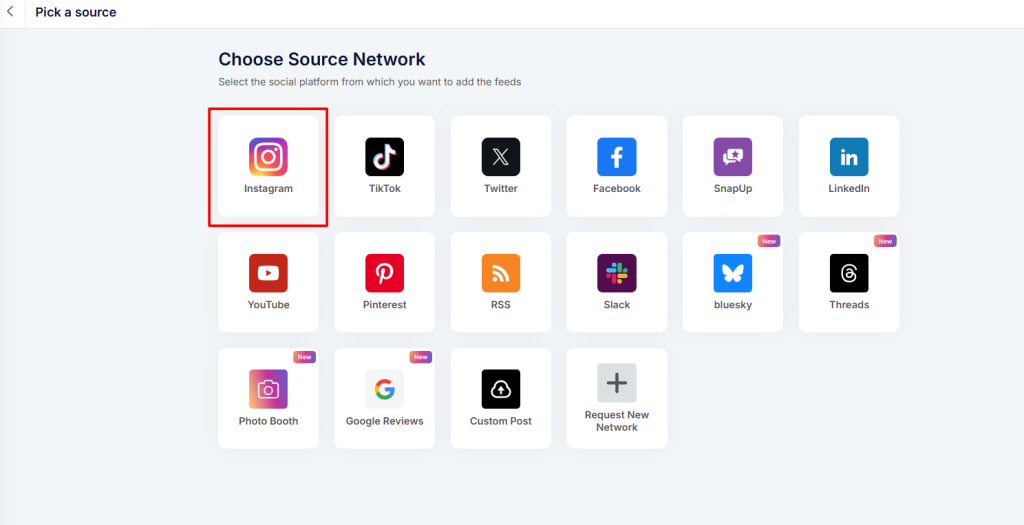
Step 5: Additionally, select your content type—hashtags, mentions, stories, or tagged posts—for personalized displays.
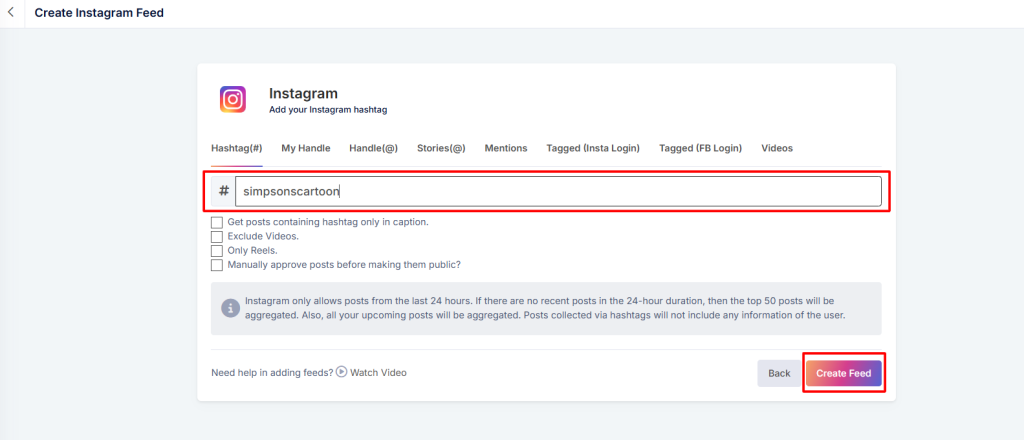
- Hashtags – Collect posts using your event or campaign hashtag.
- Handles – Display updates directly from your brand’s Instagram account.
- Stories – Stream engaging Instagram Stories to your digital screen.
- Mentions – Gather content where other users mention your brand.
- Tagged Posts – Showcase user-generated content that tags your account.
- Personal Accounts – Use posts from individual Instagram accounts.
- IGTV Videos – Highlight long-form video content using IGTV.
This option makes it easy to create an Instagram wall or mixed social feed for your display.
Step 6: Now, preview your wall carefully to ensure everything appears exactly as intended.
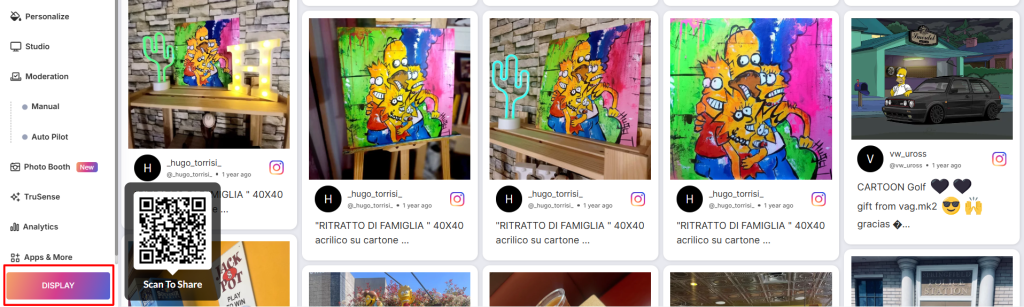
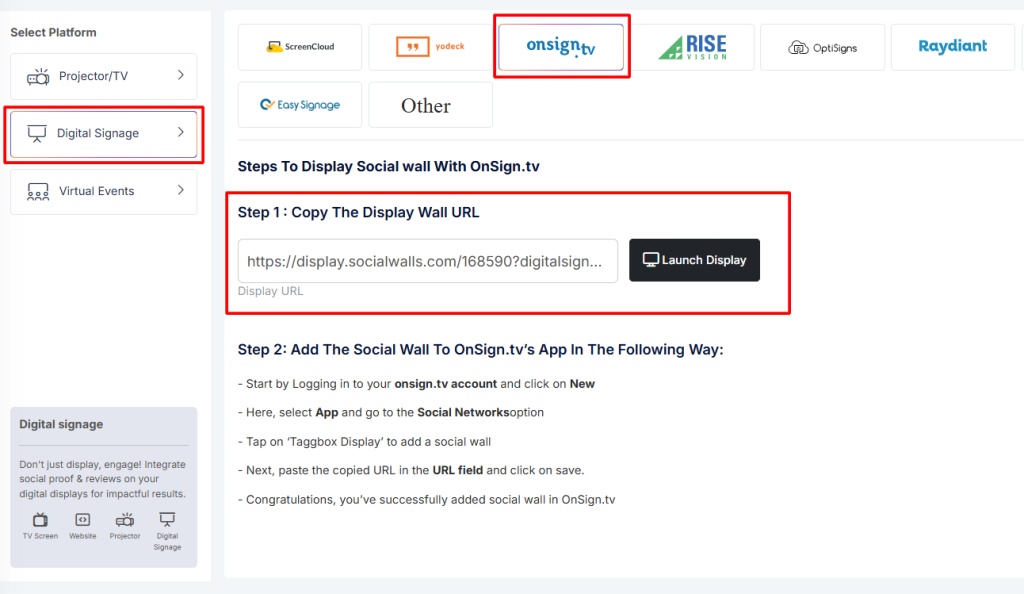
Step 7: Then, click “Display,” choose “Digital Display → Digital Signage → OnSign TV,” and copy your display URL.
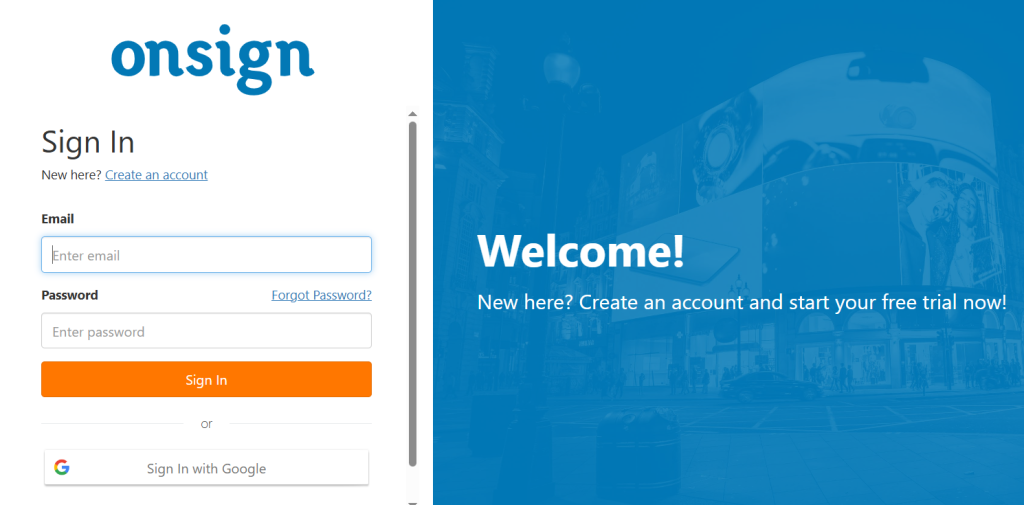
Step 8: After that, log in or sign up for your OnSign account to continue.
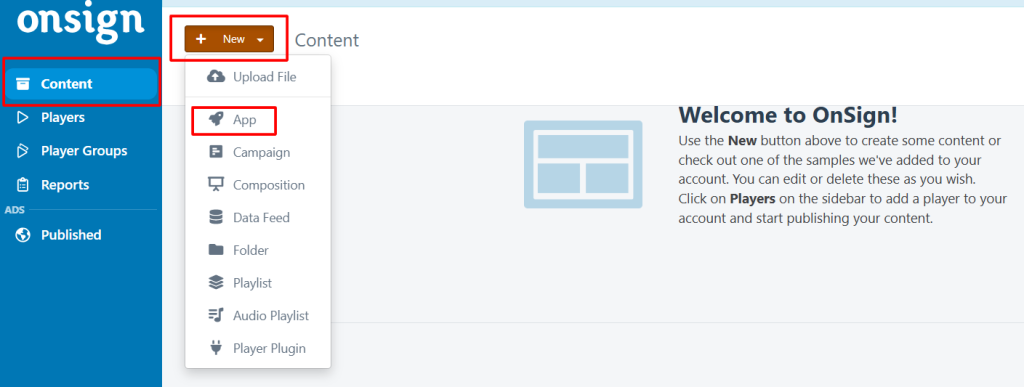
Step 9: Subsequently, navigate to Content → New → App, and search for “Taggbox Display.”
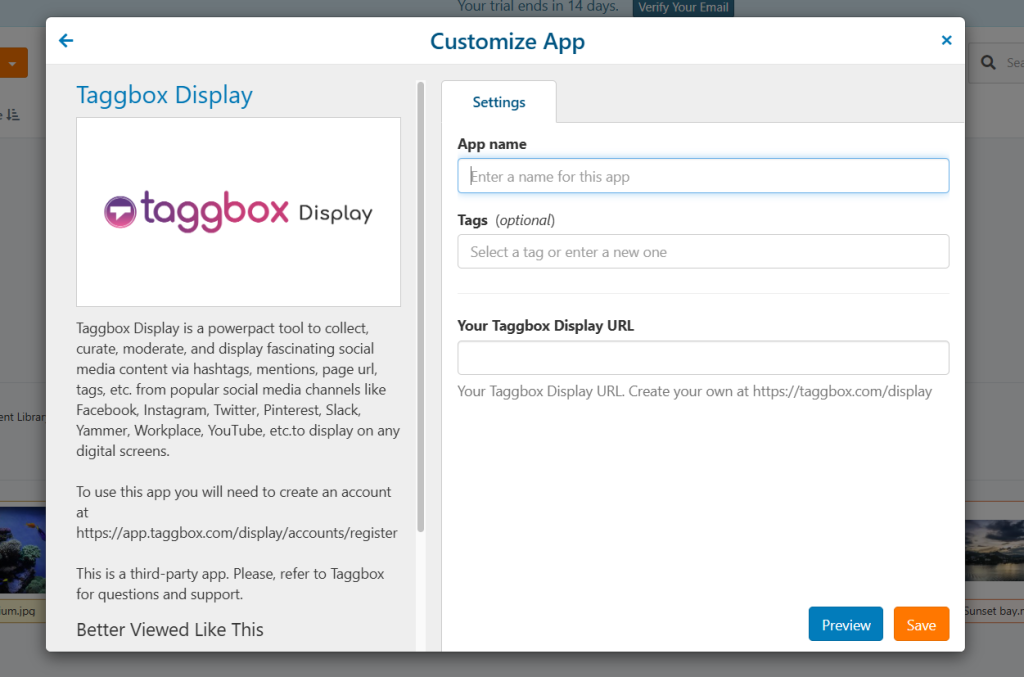
Step 10: Finally, paste your display wall link into the URL box, preview your social wall in OnSign and save the setup confidently.
That’s it! You’ve successfully integrated your social wall in OnSign digital signage, allowing you to engage audiences with live social content.
In case, if you have any trouble during the following process contact us via support@socialwalls.com