
Displaying an Instagram Feed on Digital Signage allows brands to engage audiences with live, visual content. Using social media digital signage, you can turn static screens into interactive experiences.
A social media aggregator like Social Walls helps collect posts from hashtags, mentions, and profiles. This keeps your Instagram feed dynamic, relevant, and visually appealing.
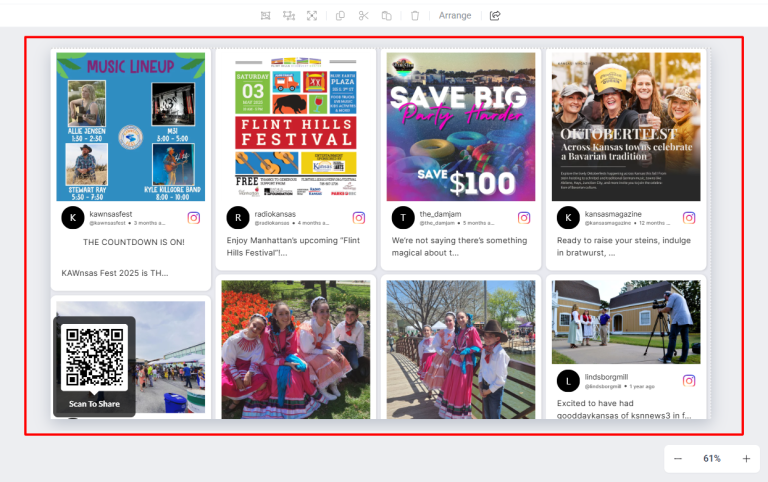
An Instagram Wall displays live posts and videos on your screens, capturing attention instantly. With an Instagram Feed on Digital Signage, you boost engagement and enhance brand visibility.
Step 1: Go to the Social Walls website and either sign up for a new account or log in if you already have one.
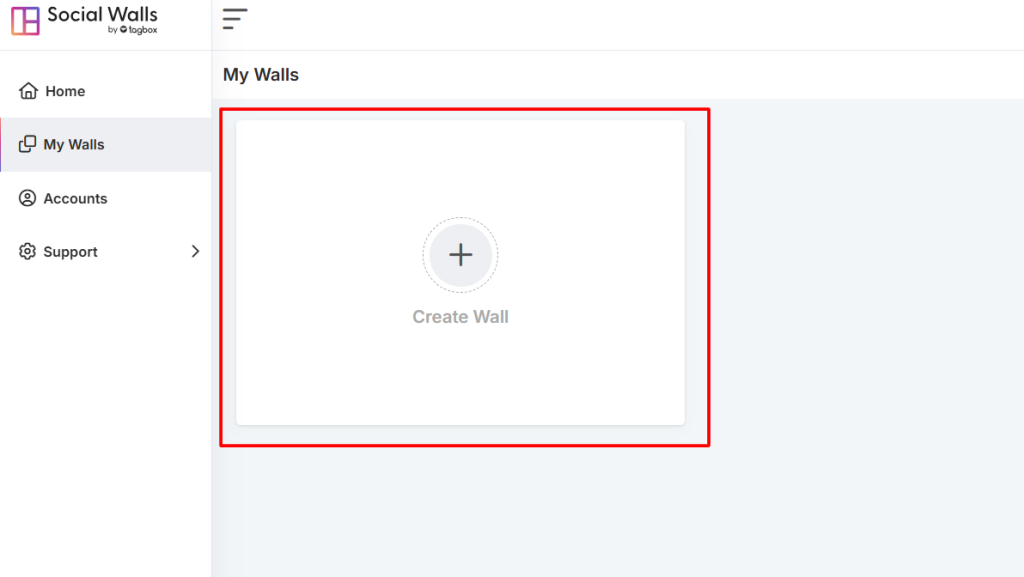
Step 2: Once inside your dashboard, click on “My Walls” → “Create New Wall.”
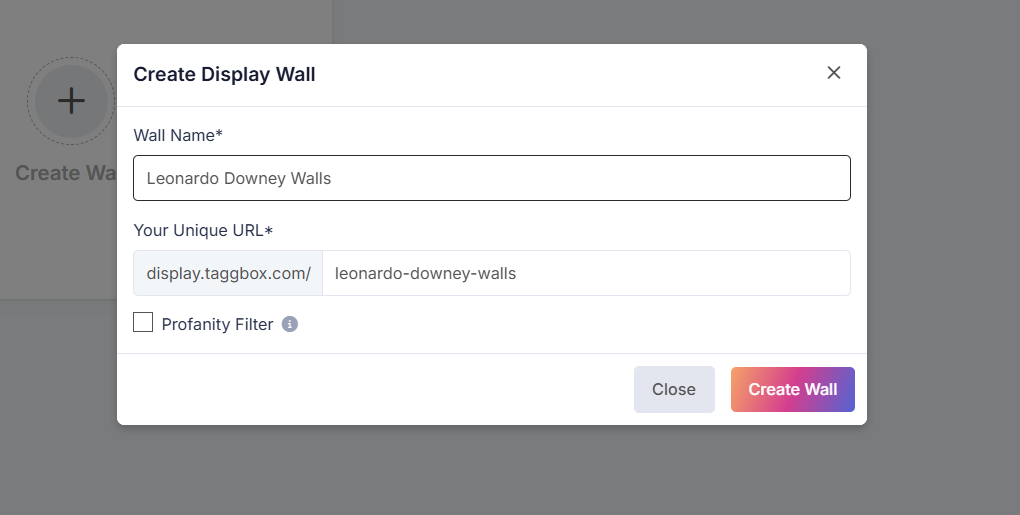
Step 3: Give your wall a name that fits your event or campaign.
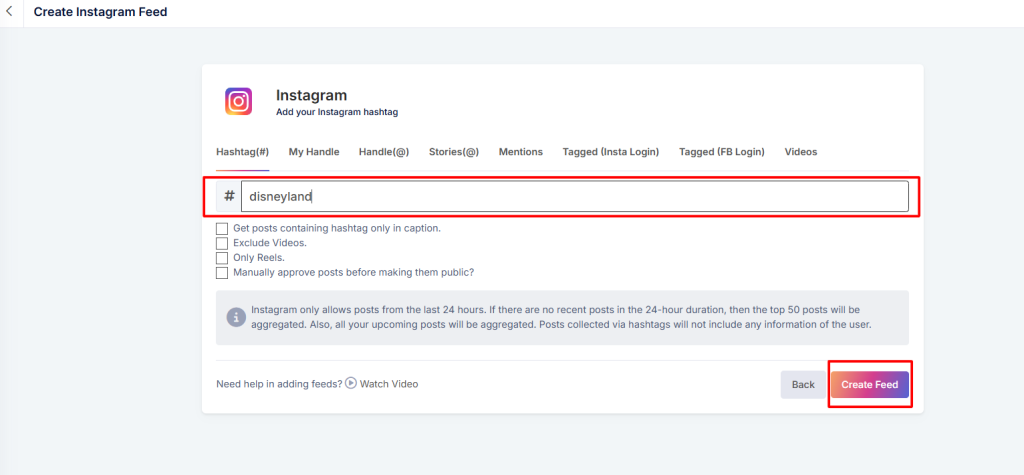
Step 4: Choose instagram from the list of available social networks to create your wall.
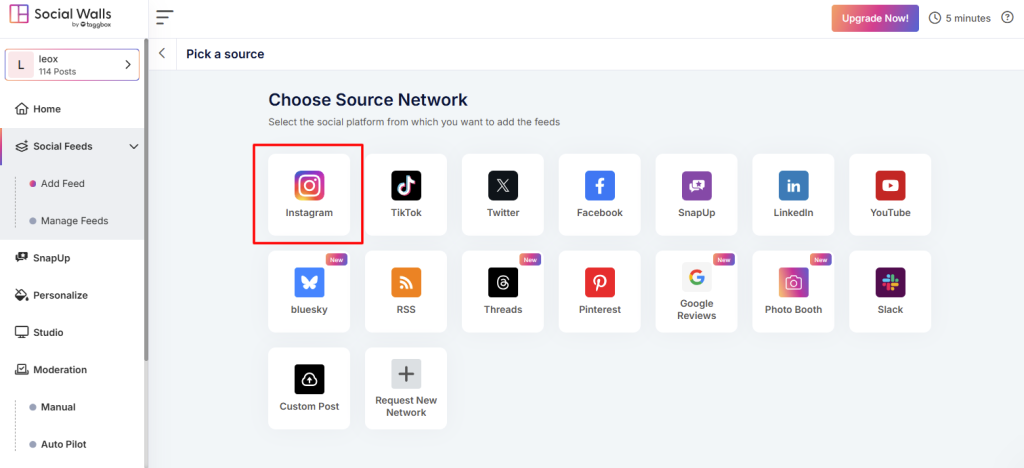
Step 5: Go to instagram icon and choose your source feeds.
As a social media aggregator, Social Walls lets you collect content from:
- Hashtags – Pull posts using your event hashtag
- Mentions – Gather posts where users mention your brand
- Tagged Posts – Highlight user-generated content
- Handles / Personal Accounts – Stream posts from your official profiles
- Stories & IGTV Videos – Add rich, immersive visuals
This helps you build an engaging social wall for digital signage.
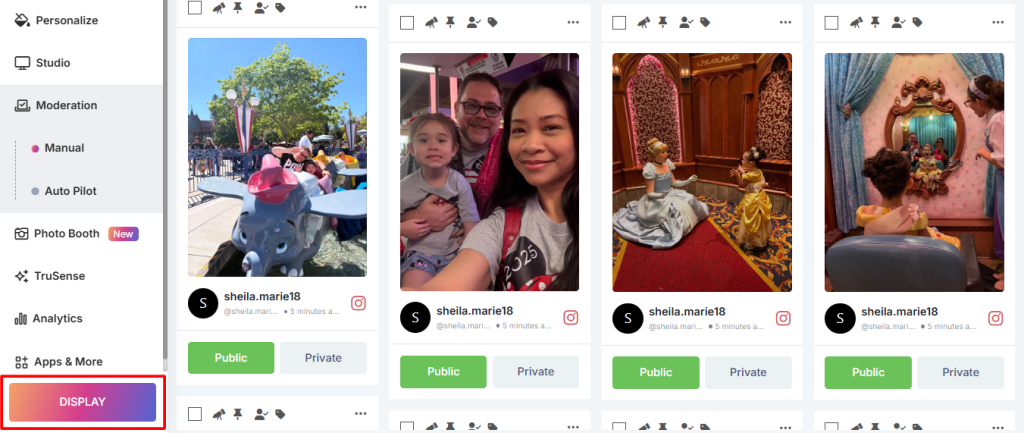
Step 6: View your social wall to see how it will look. And click on the display button.
Step 7: Once satisfied, go to Digital Display → Digital Signage → ScreenCloud and copy the generated display URL. Preview & Get Your Display Link
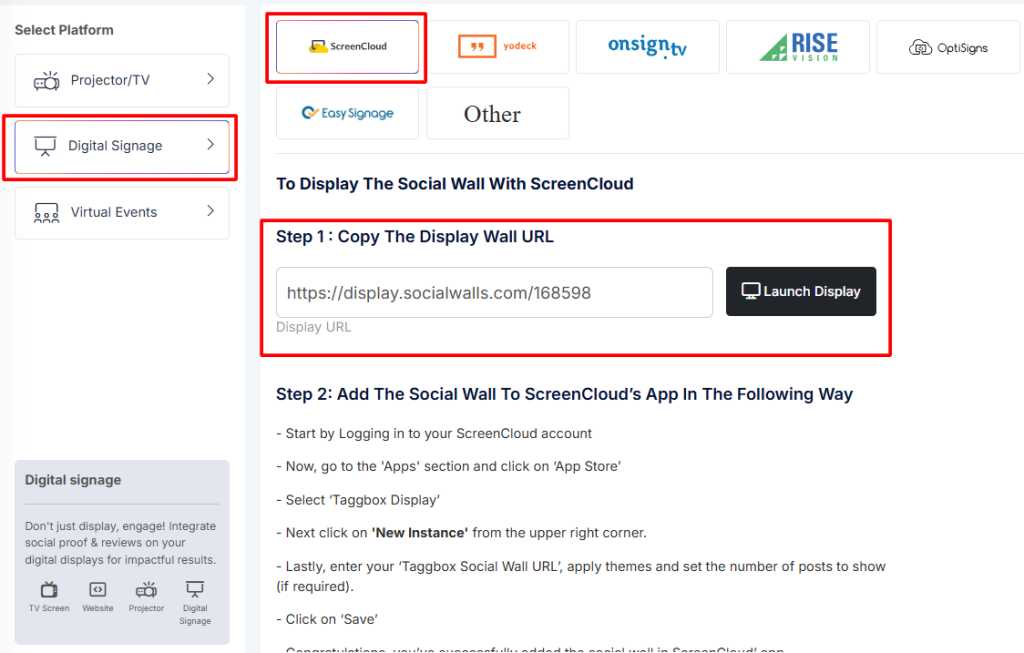
Step 8: Login to ScreenCloud, navigate to Apps, search for Taggbox Display, and click ‘Get New Instance’.
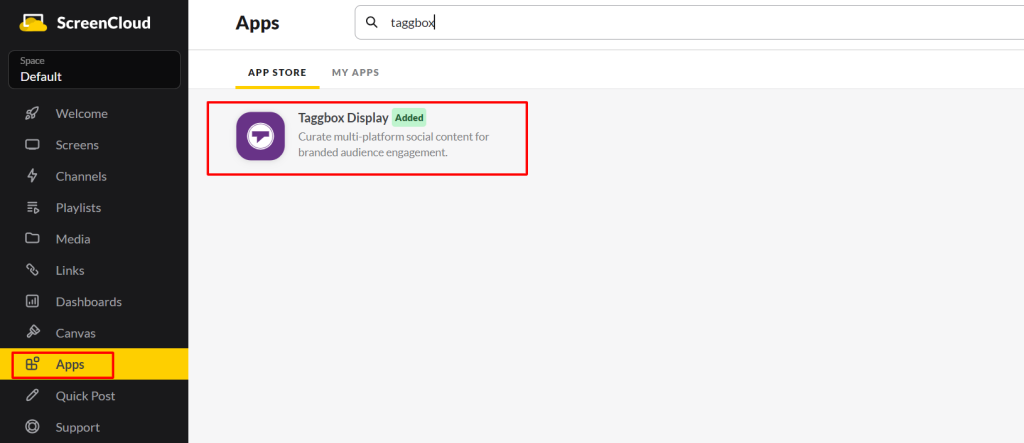
Add the Social Wall to ScreenCloud
Inside your ScreenCloud dashboard:
- Navigate to Content → Apps
- Search for Taggbox Display (the app that powers Social Walls)
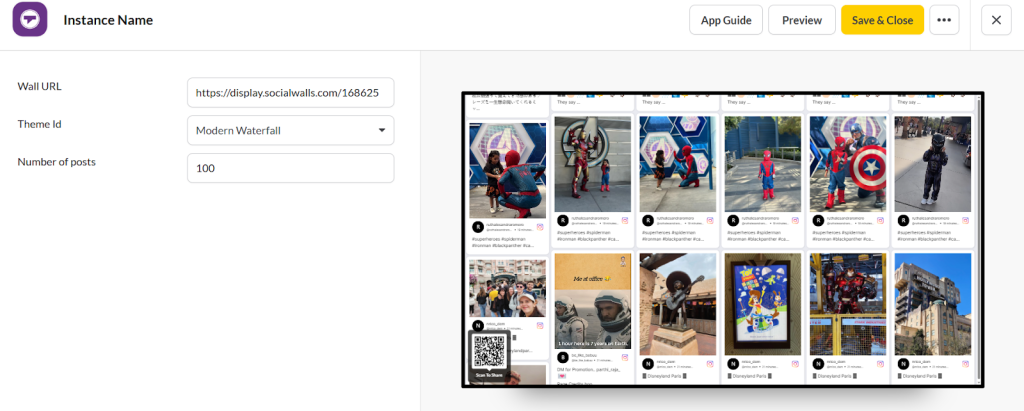
- Paste your display wall URL in the URL box.
Click Preview, then Save
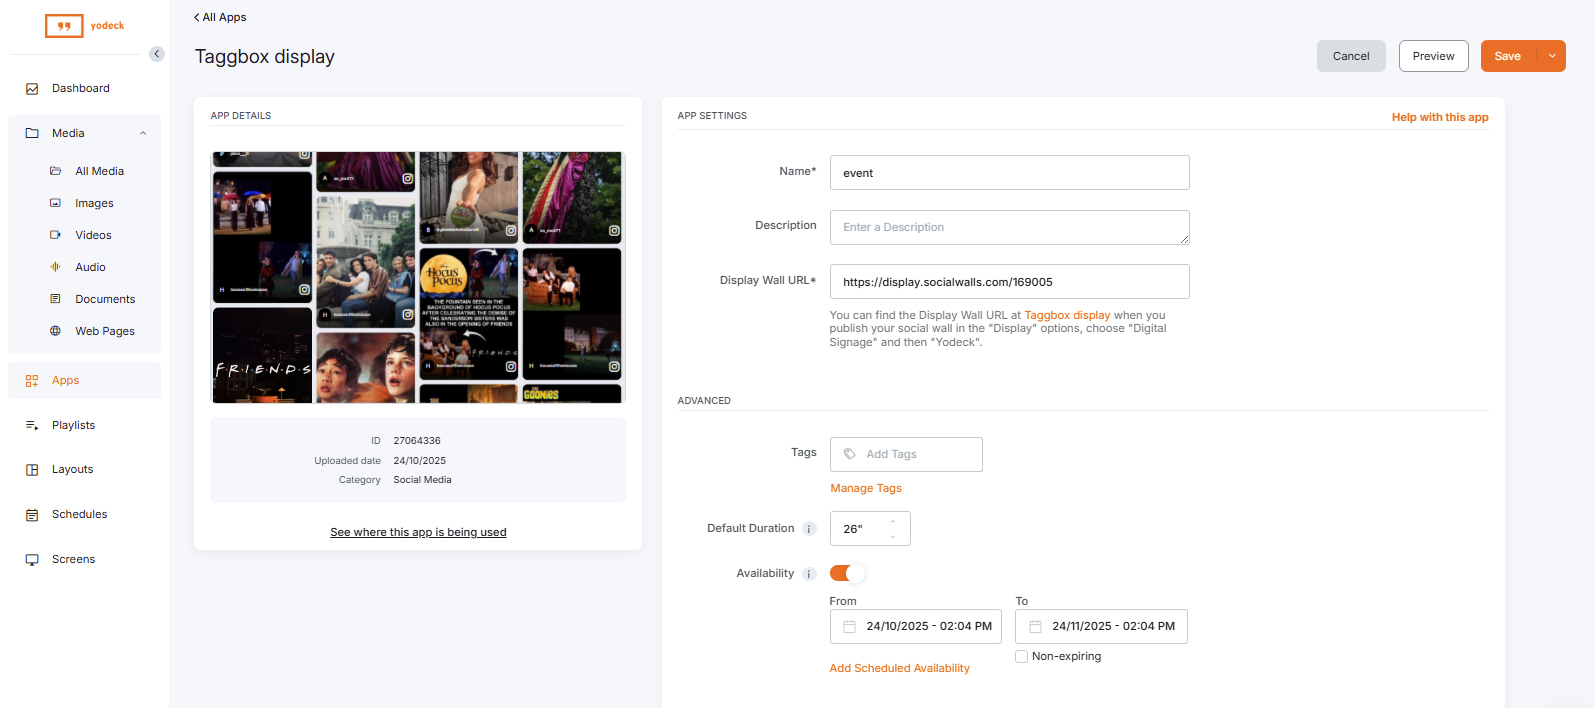
Step 9: Login to Yodeck, navigate to Apps, search for Taggbox Display

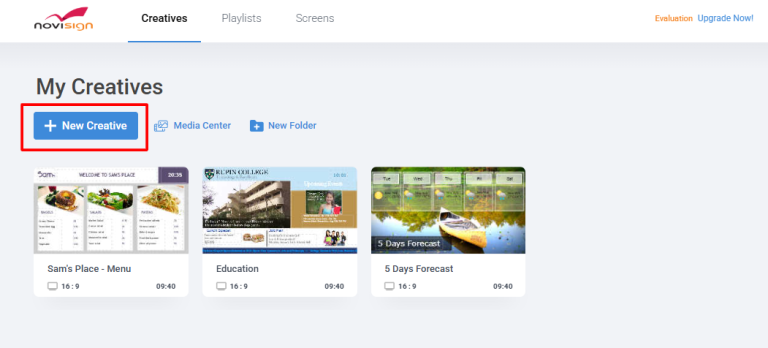
Step 10: Login to NoviSign App. Create a New Creative and start with a blank page, then add a Webpage widget.
Within the widget settings, paste the copied Social Wall display URL into the URL field, and configure details such as the name, description, tags, and the timing for when it should appear.
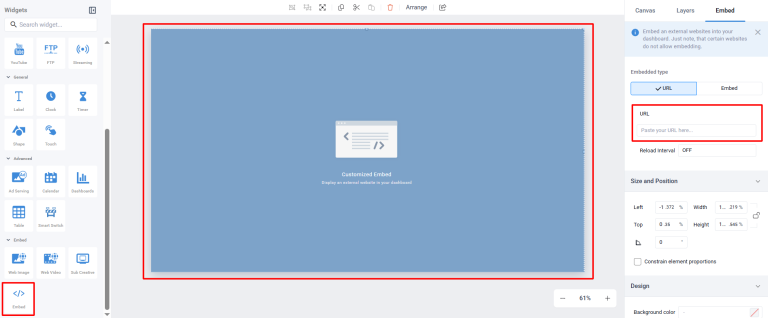
Click Save to complete the setup and preview your work.
Great! You have successfully integrated instagram feeds on various digital signage.
If you have any questions or need help, please contact us or write to us at support@socialwalls.com