
Facebook remains one of the most powerful social platforms for brands, with billions of active users sharing posts, photos, check-ins, and recommendations every single day. For businesses, bringing these authentic stories onto digital signage is an incredible way to build trust, showcase community love, and expand brand reach.
With a social media wall for digital signage, powered by a social media aggregator like Social Walls by Taggbox, you can easily collect posts, reviews, and user-generated content from Facebook and display them on big screens at events, offices, retail stores, or public spaces.
Step 1: First, log in to Social Walls. If you don’t have an account yet, sign up.
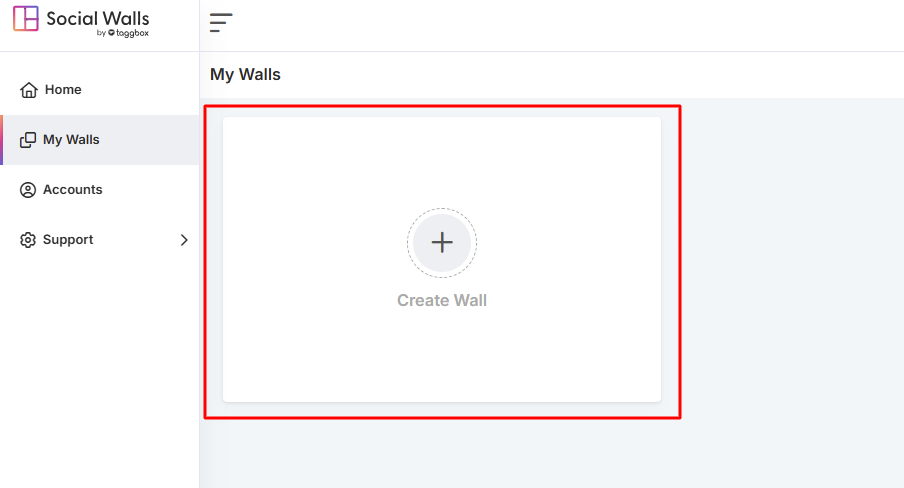
Step 2: Go to your dashboard, click “My Walls” → “Create New Wall”.
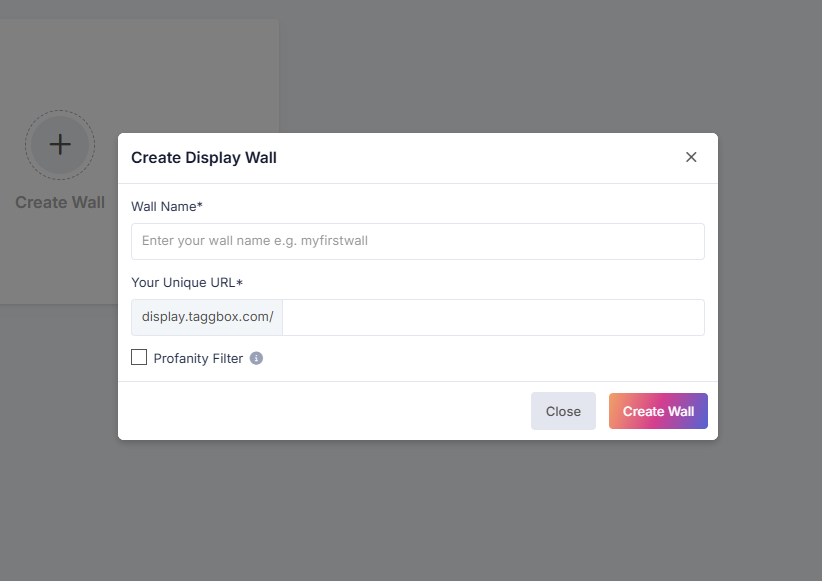
Step 3: And give it a name that matches your event, campaign, or office theme.
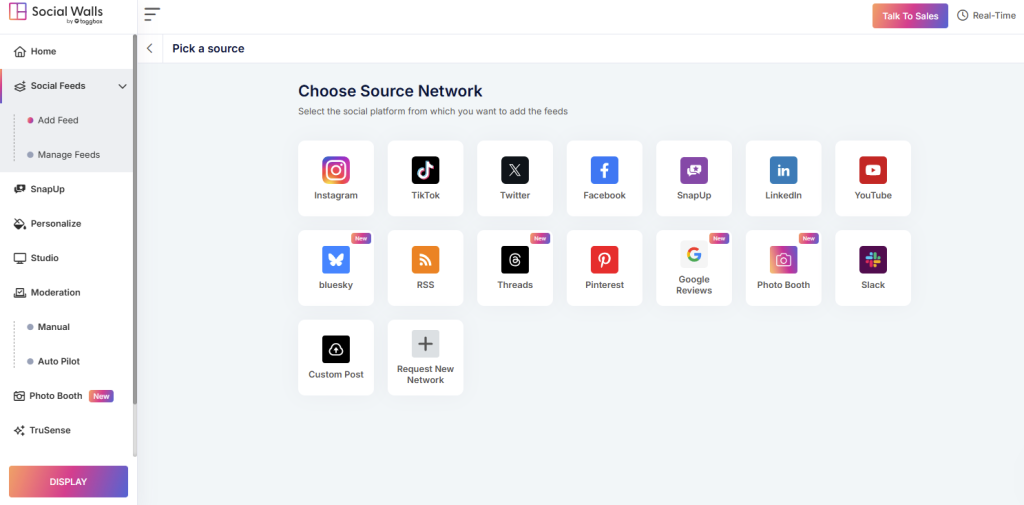
Step 4: Choose the source network from the available platforms and let the social media aggregator do the work of pulling content for you.
Step 5: Connect your facebook feed by choosing from hashtags, mentions, tagged posts, your official page, or even customer review.
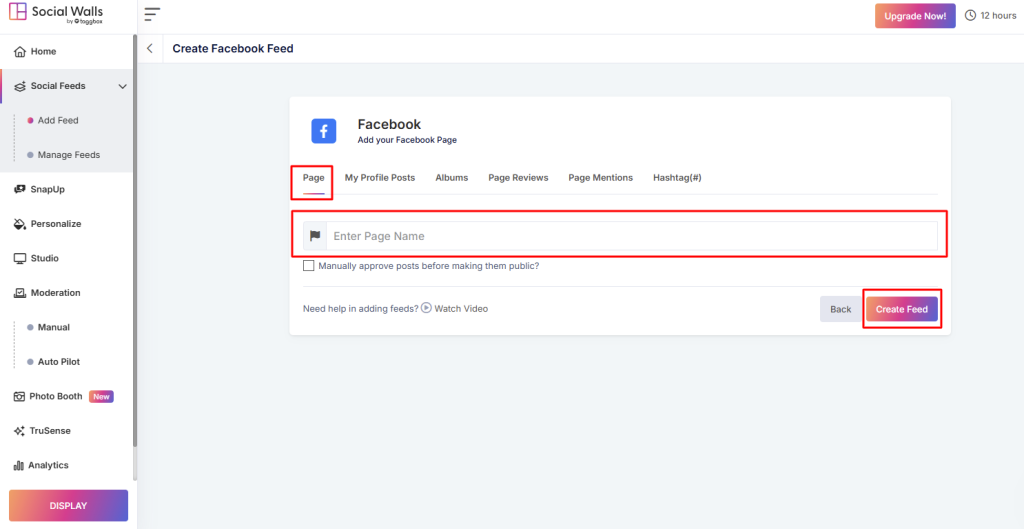
You can collect content from:
Page – Content directly from your official Facebook Page
My Profile Posts – Posts shared from your connected Facebook profile
Albums – Photos and albums published on your Page
Page Reviews – Customer reviews and feedback posted on your Page
Hashtag (#) – Posts created using your chosen event or campaign hashtag
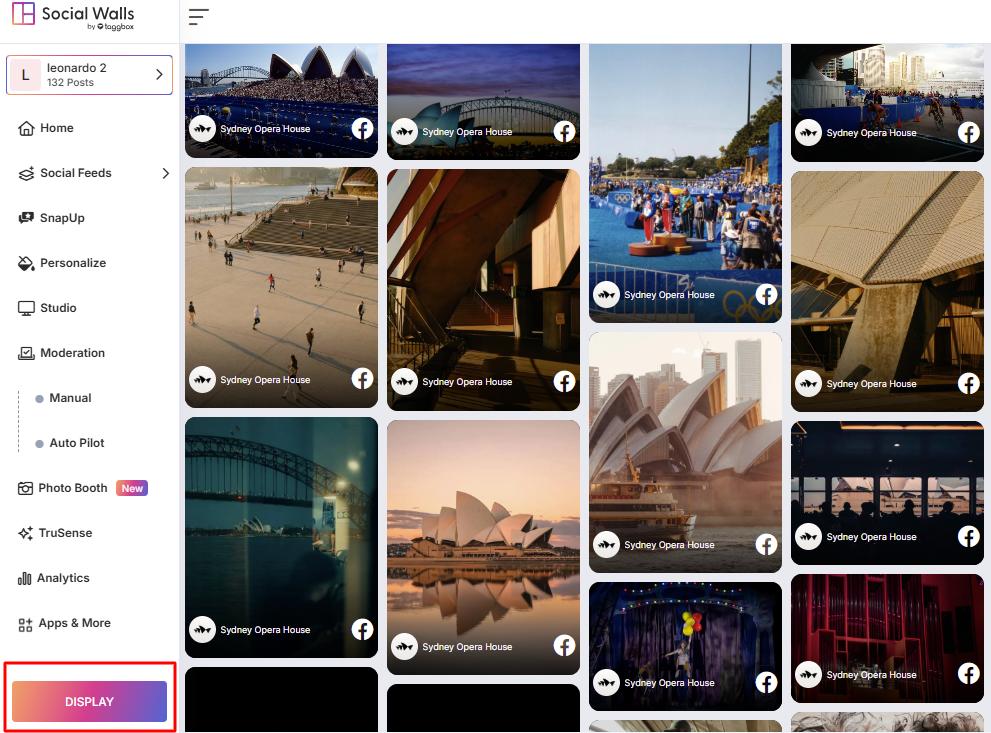
Step 6: Open your social wall and click on the Display button.
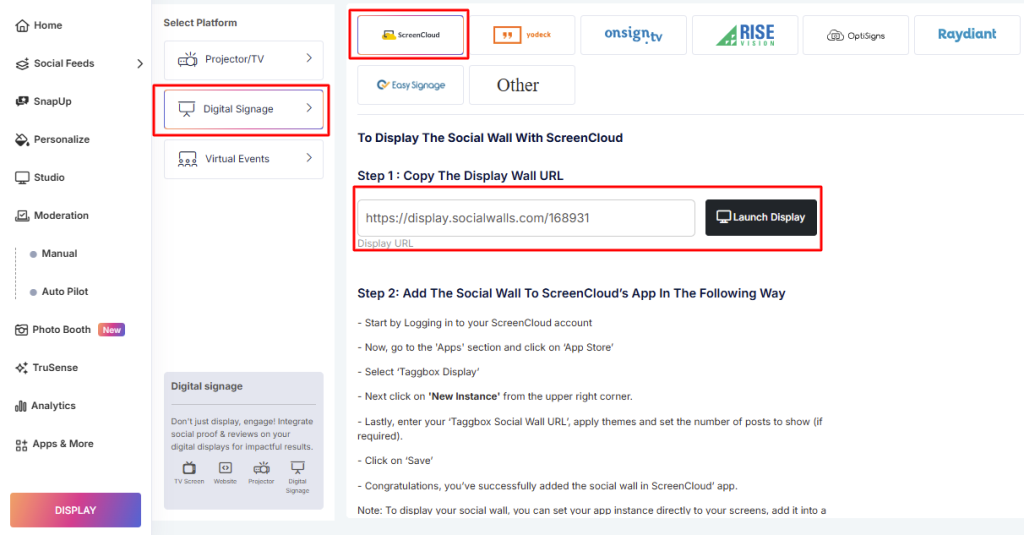
Step 7: Go to Digital Display → Digital Signage → ScreenCloud and copy the generated display URL.
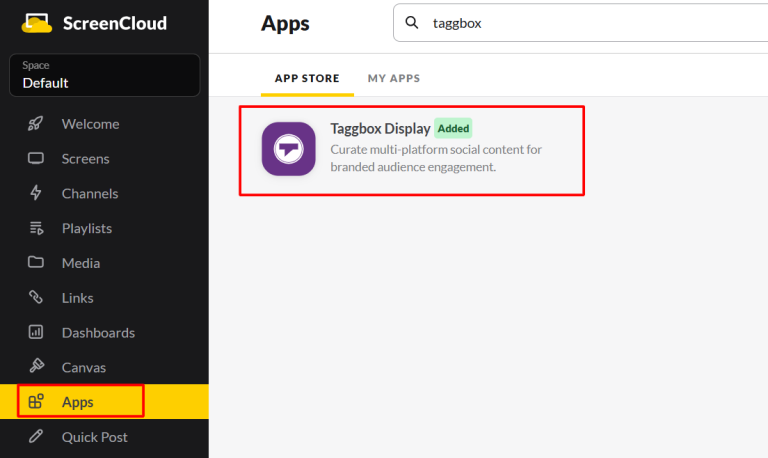
Step 8: Log in to ScreenCloud, go to Apps, search for Taggbox Display, and click “Get New Instance.”
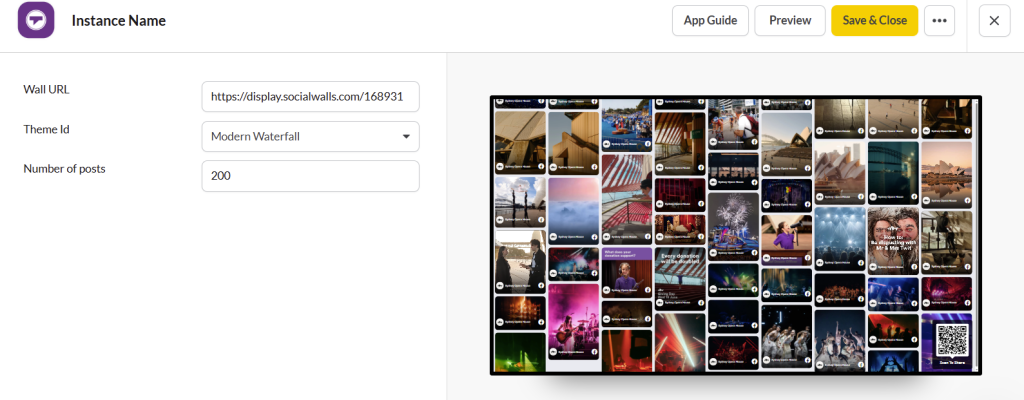
Step 9 : Add your social wall to ScreenCloud.
- Paste your display wall URL in the URL field
- Click Preview, then Save
Great! You have successfully integrated facebook feed on Screen Cloud digital signage.
If you have any questions or need help, please contact us or write to us at support@socialwalls.com