Want to display live social media content on your digital screens? With Social Walls, a powerful social media aggregator, you can collect and showcase real-time posts from multiple platforms—and stream them directly to your digital signage using ScreenCloud.
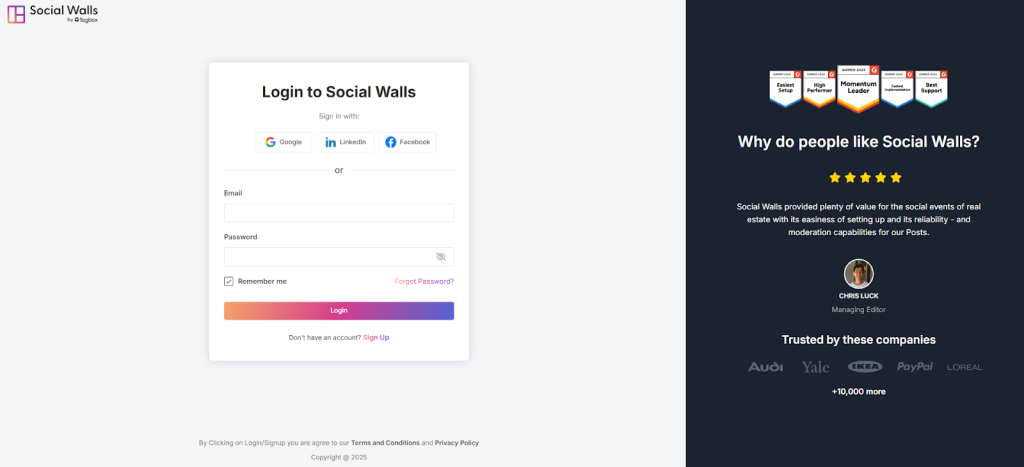
Step 1: Log In to Social Walls or create a new one.
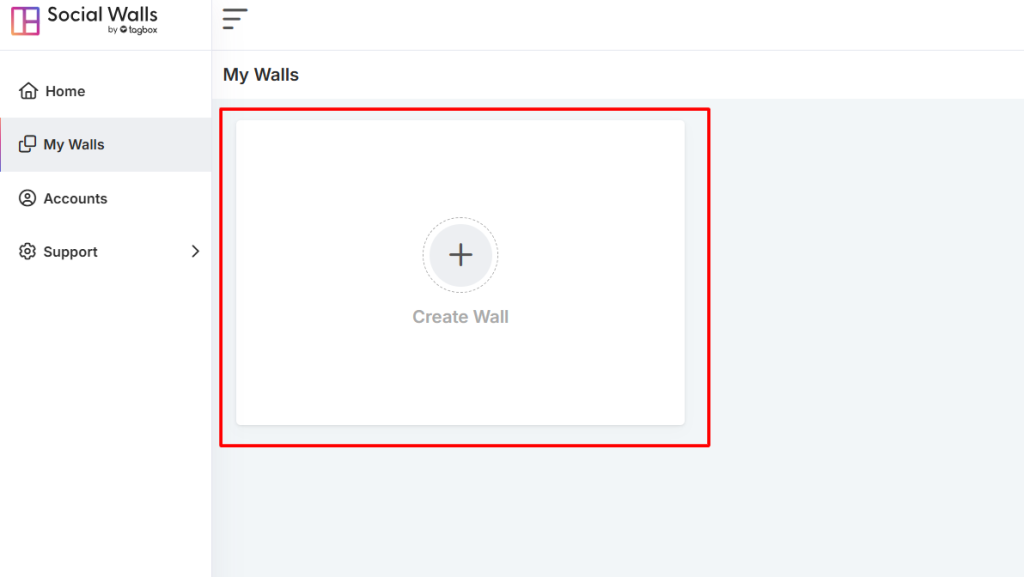
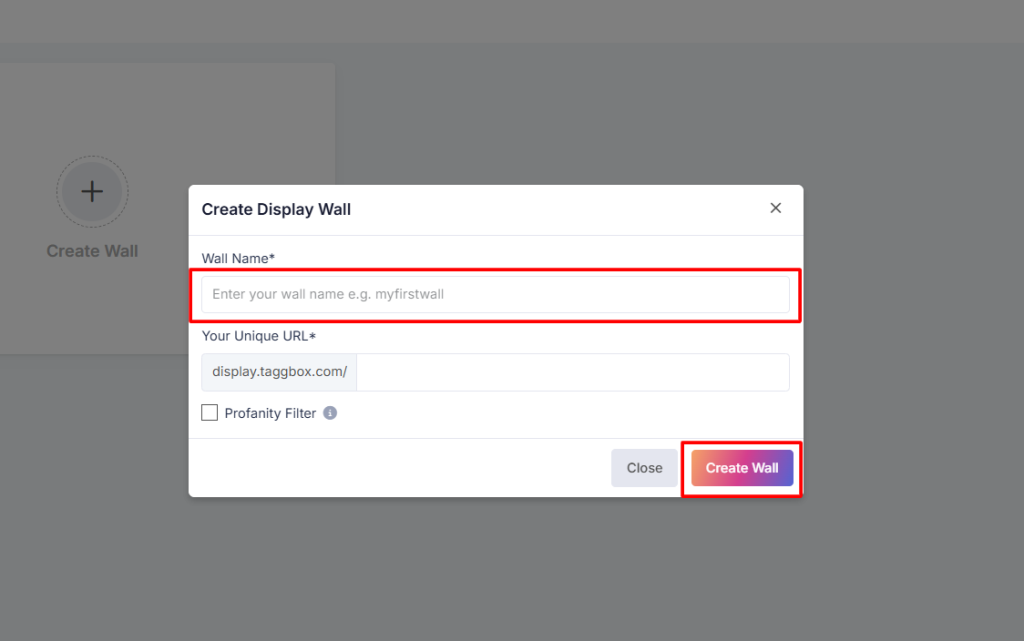
Step 2: In your dashboard, go to “My Walls” and click “Create New Wall.” Enter a name that fits your event, campaign, or office theme.
Step 3: Choose a wall name that clearly represents the purpose of your event or campaign.
Step 4: Choose Source Network
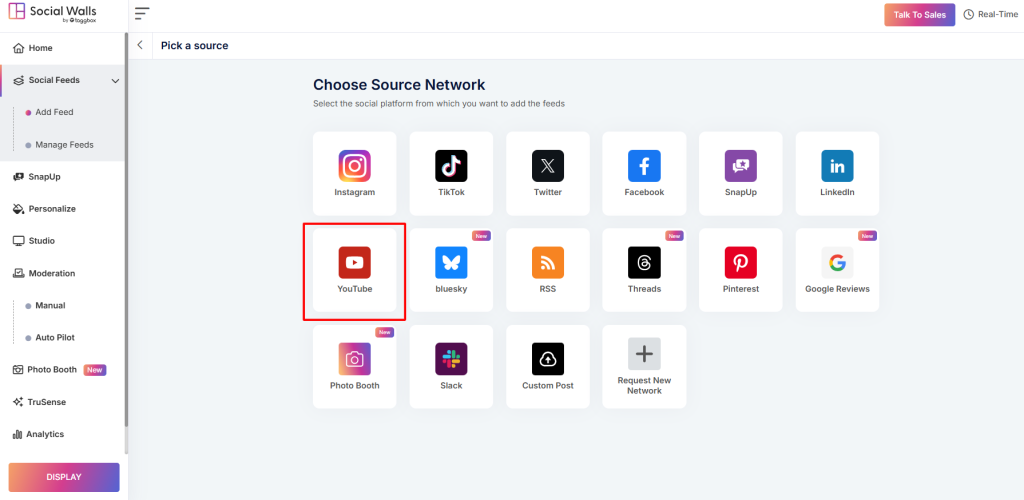
Step 5: Connect Social Media Feed
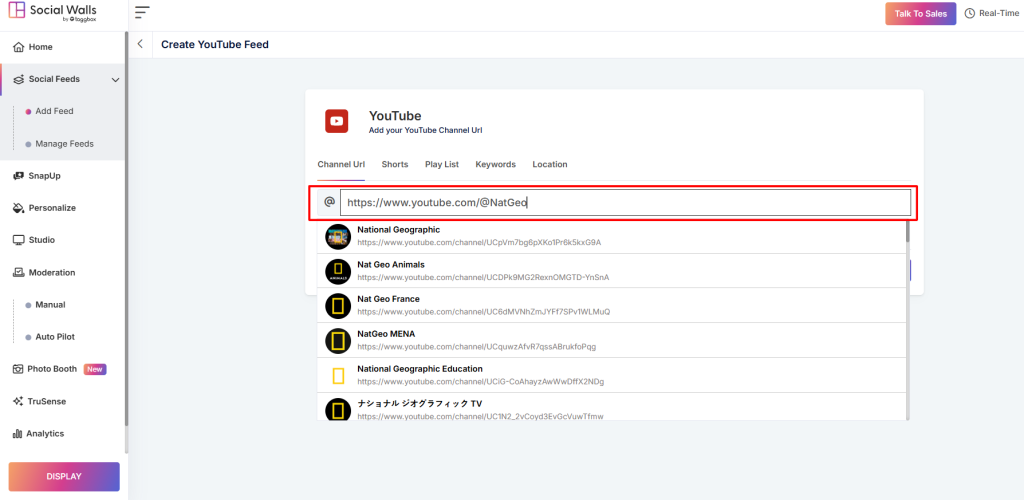
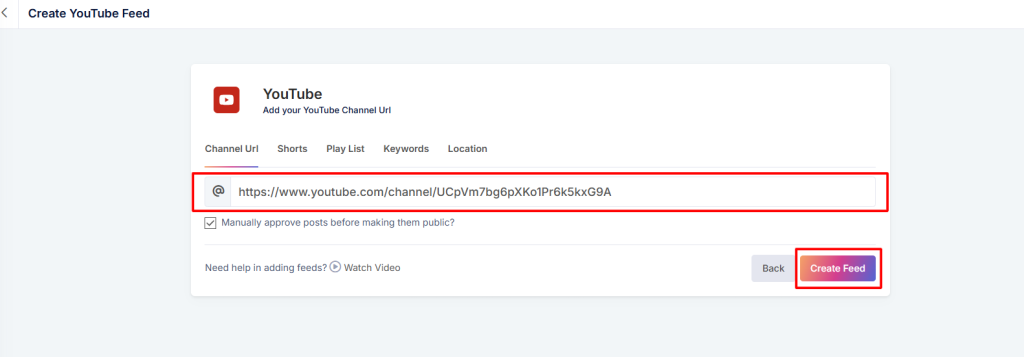
As a social media aggregator, Social Walls lets you collect content from:
- Channel URL – Pull content directly from a specific channel
- Shorts – Add short-form vertical video content
- Playlists – Display curated playlists from your account
- Keywords – Fetch posts and videos based on targeted keywords
- Location – Aggregate posts shared from a specific location or venue
This helps you build an engaging social wall for digital signage.
Step 6: After creating a feed, view your Social Wall. All your YouTube posts will be private by default. You must make those posts public before they can be displayed.
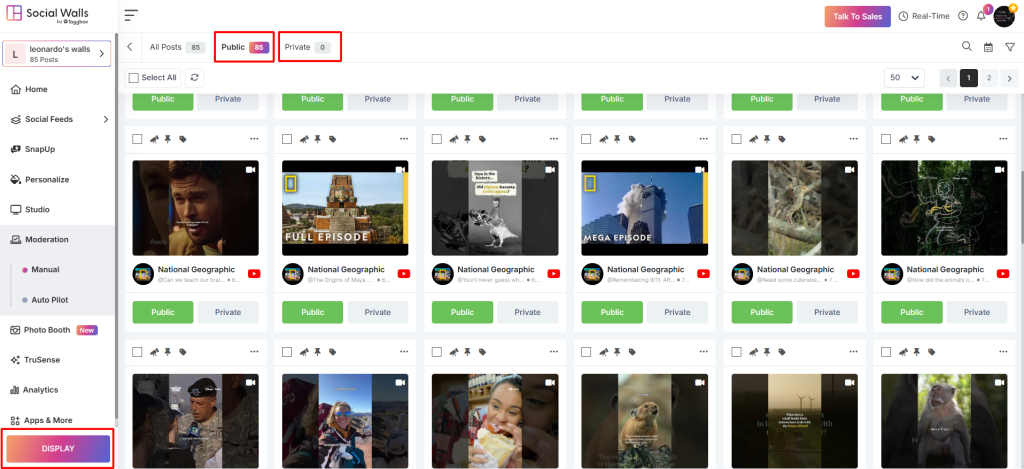
Step 7: Preview the layout to ensure it’s ready for big screens. After confirming, navigate to Digital Display → Digital Signage → ScreenCloud, then copy the generated display URL.
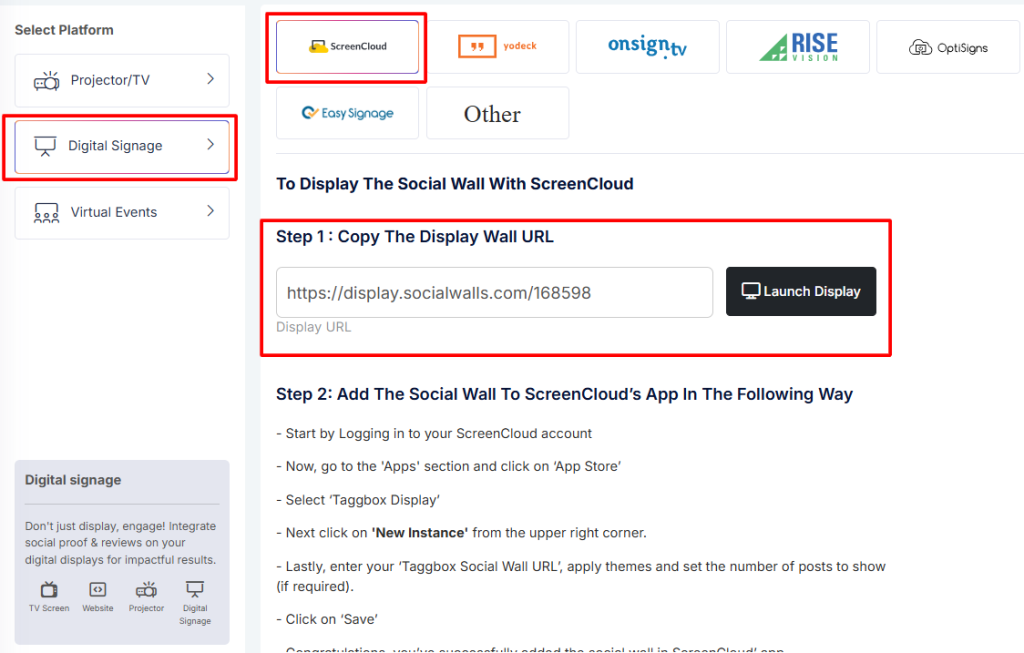
Step 8: Log In to your ScreenCloud account (or create one if you’re new).
In the dashboard, navigate to Apps, search for Taggbox Display and click “Get New Instance“.
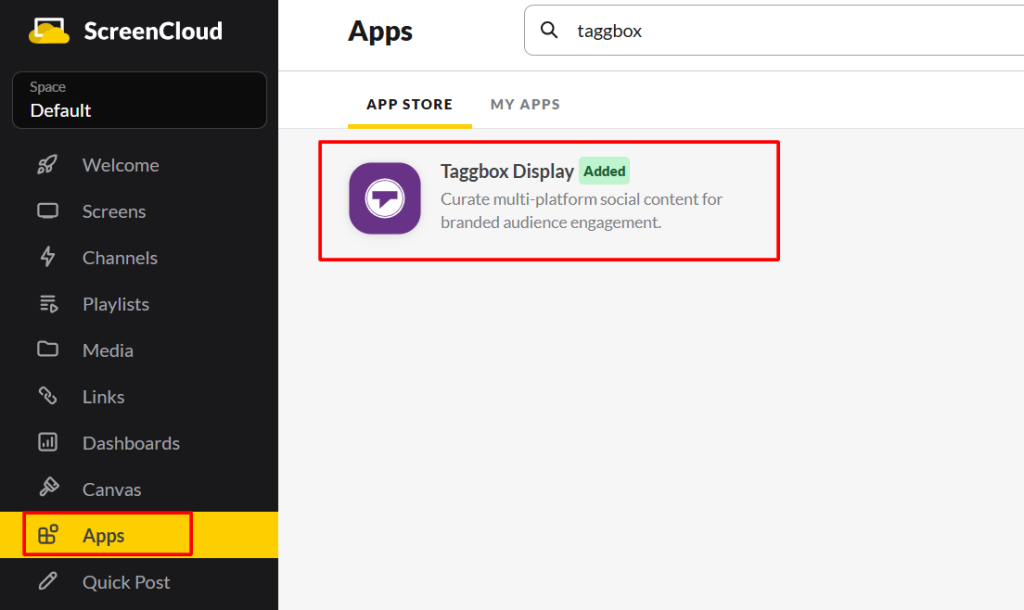
Step 9: Inside ScreenCloud:
- Paste your display wall URL in the URL field.
- Click Preview, then Save.
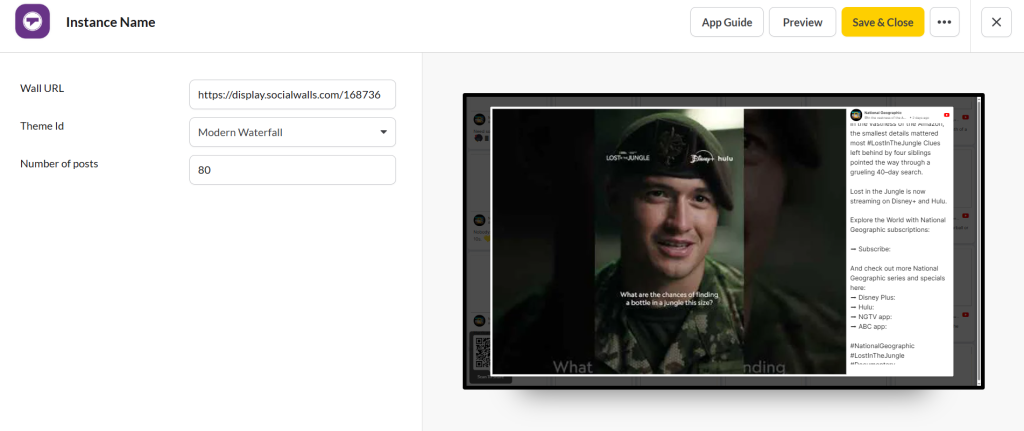
Great! You have successfully integrated Youtube Feed on Screen Cloud digital signage.
If you have any questions or need help, please contact us or write to us at support@socialwalls.com
