
Displaying your Facebook Feeds on Screen Cloud is a simple way to showcase your latest updates, reviews, and posts in real time. Whether it’s for your office, event, or retail space, Social Walls helps you connect your Facebook account and turn your social content into an engaging visual display.
With just a few steps, you can collect your Facebook feeds, customize your social wall, and integrate it with ScreenCloud to make your digital signage more interactive and lively. Follow the steps below to get started:
Steps to Create and Display Facebook Feed on ScreenCloud
Step 1: Sign up or log in to your Social Walls account.
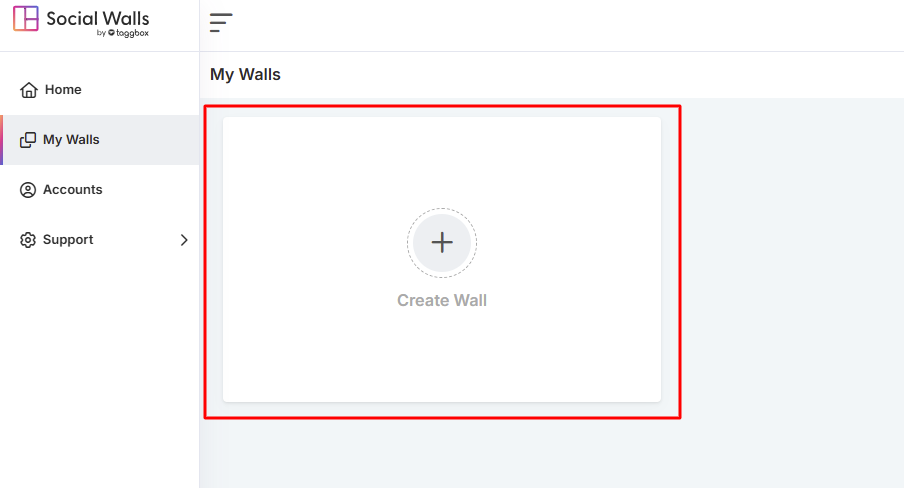
Step 2. Once you’ve logged in, you’ll be directed to your Social Walls dashboard. From there, click on “My Walls” to start creating a new wall.
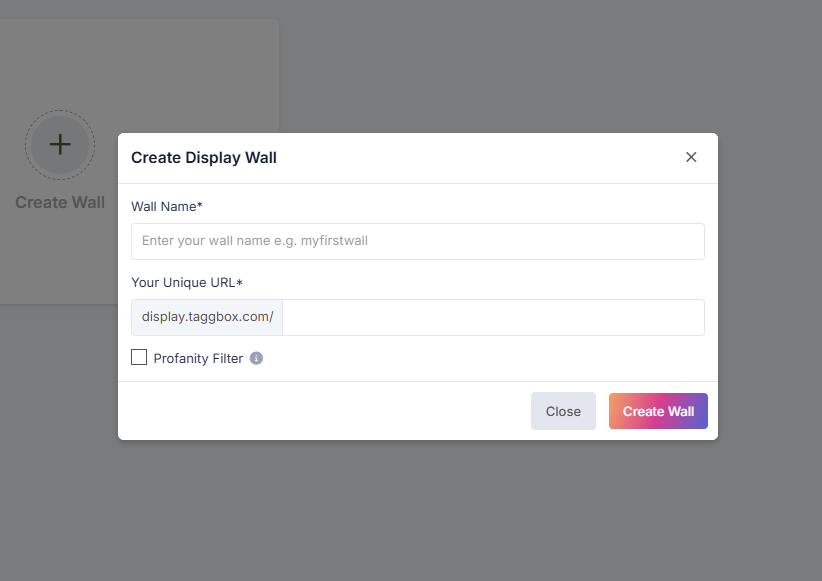
Step 3. Give your wall a name that reflects your event, campaign, or brand.
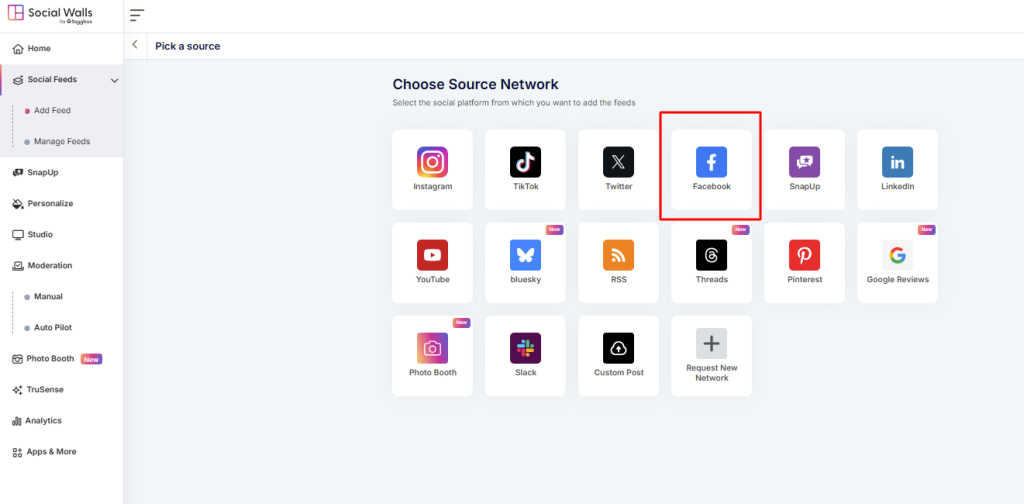
Step 4: Choose Facebook from the list of available social networks to create your wall.
Step 5: Select a connection type:
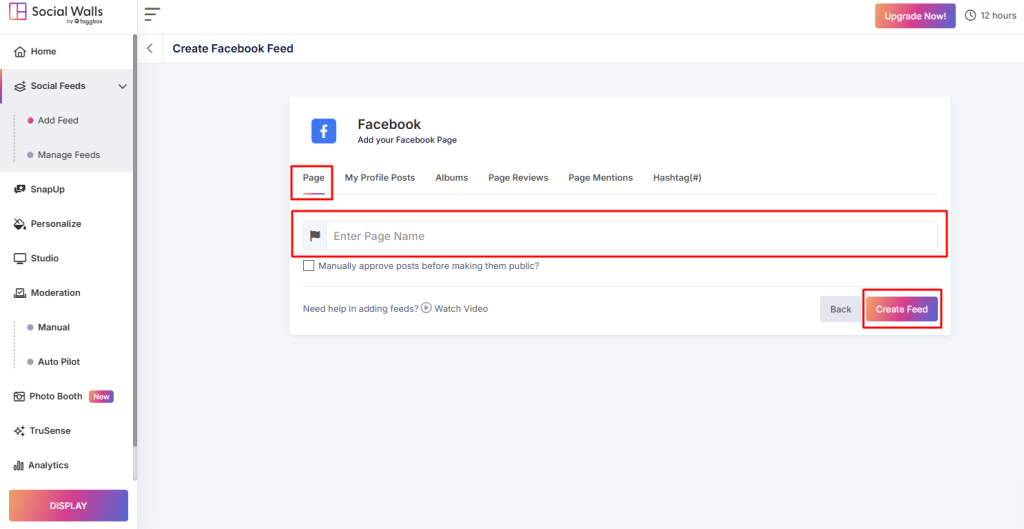
- Page: Fetch posts from your official Facebook Page.
- Profile: Collect posts from your personal profile.
- Album: Display photos from your Facebook albums.
- Page Reviews: Show user-generated reviews.
- Page Mentions: Display posts where your page is mentioned.
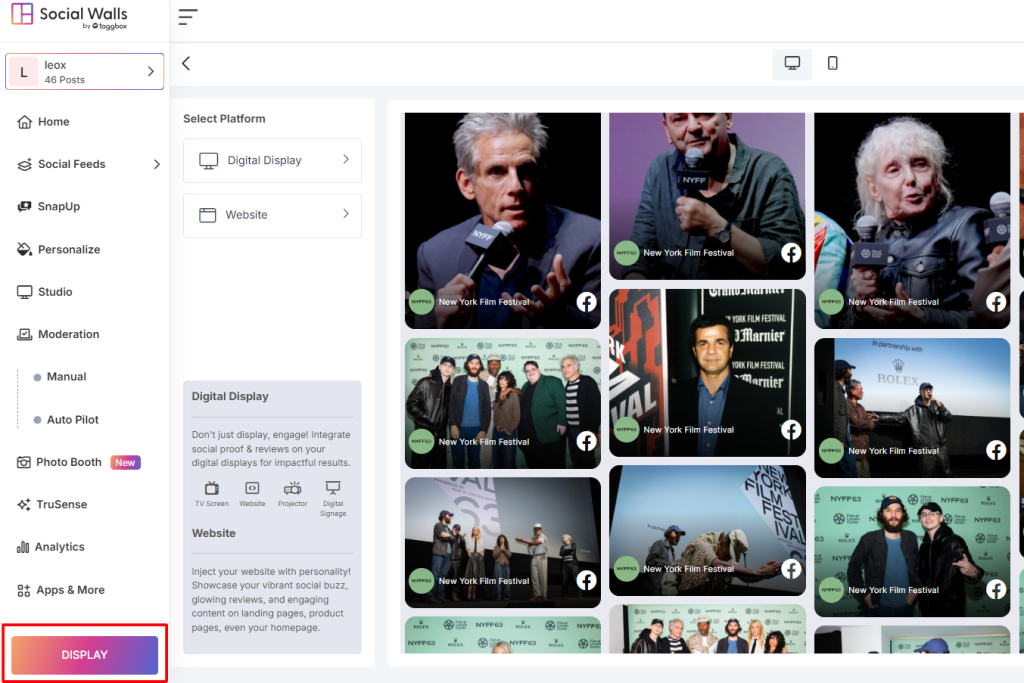
Step 6: Open your social wall and click on the Display button.
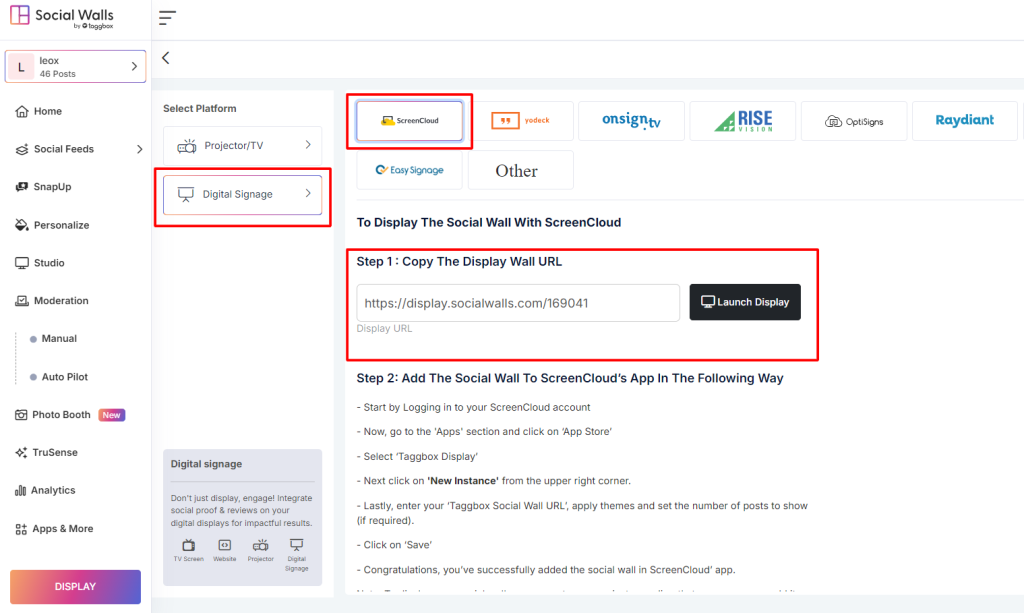
Step 7: Go to Digital Display → Digital Signage → ScreenCloud and copy the generated display URL.
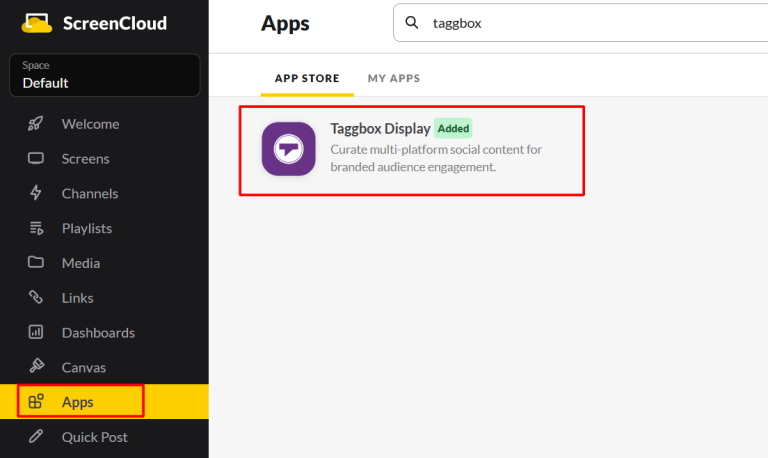
Step 8: Log in to ScreenCloud, go to Apps, search for Taggbox Display, and click “Get New Instance.”
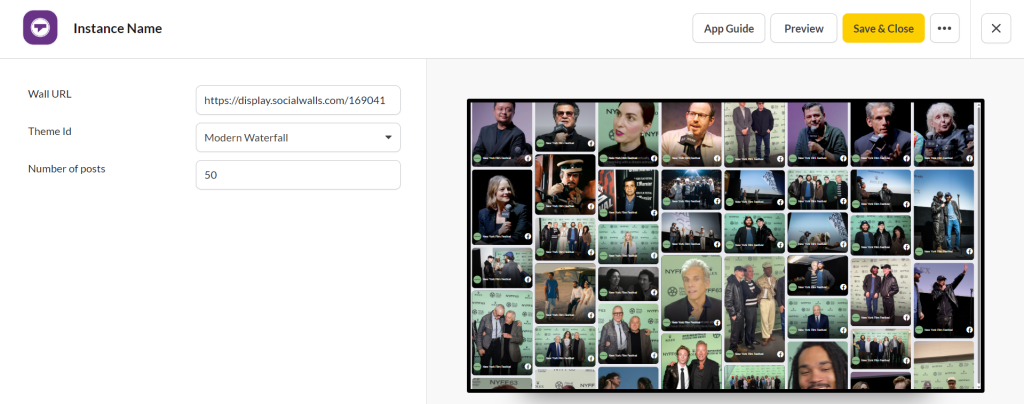
Step 9 : Add your social wall to ScreenCloud.
- Paste your display wall URL in the URL field
- Click Preview, then Save
Great! You have successfully integrated Facebook Feeds on Screen Cloud digital signage.
If you have any questions or need help, please contact us or write to us at support@socialwalls.com