
Video has kind of taken over the internet lately, and honestly, it’s not surprising. Most people would rather watch something than read walls of text—especially when they’re in a hurry or checking a site on their phone. Text and images still matter, obviously, but a quick video just hits differently. It shows, instead of tells.
And that’s basically why so many creators and businesses now embed YouTube videos on their websites. It’s not about being flashy.
It’s about simplicity—dropping in a tutorial, a customer review, a product clip, or even a behind-the-scenes moment without making visitors dig around for it.
When you embed YouTube video on website, you give people context immediately. No guessing. No clicking away to figure stuff out. Just—here it is, watch for ten seconds and you get the idea. It makes your pages feel less stiff, more human, more like a conversation than a brochure.
Steps to Embed YouTube Video on Website
Below is a simple guide that explains how to embed a YouTube video on a website using Social Walls. You don’t need coding expertise—just follow the steps.
Step 1: Log In or Sign Up in Social Walls

Log in or Sign Up for an account if it’s your first time. A centralized dashboard allows you to manage multiple video feeds and customize them as needed.
Step 2: Go to “My Walls” and Create a New Wall
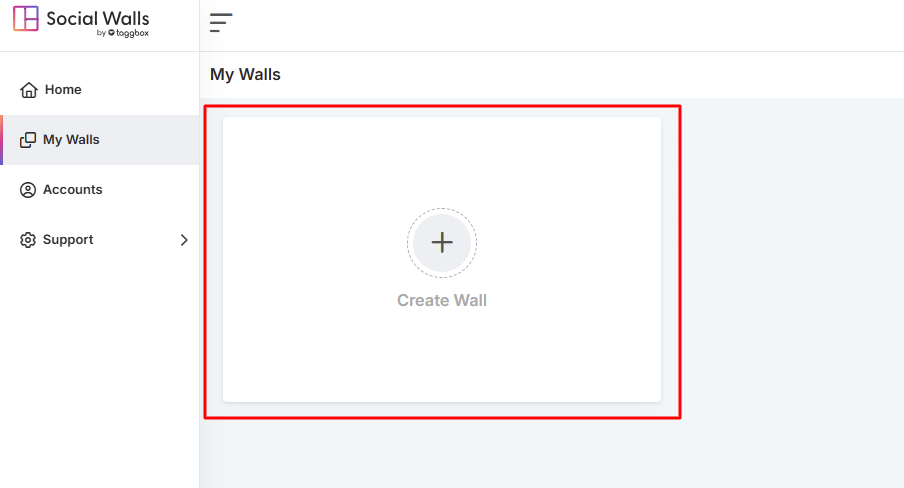
Click on My Walls and select Create Wall. This wall will serve as your workspace for customizing the layout, theme, moderation options, and appearance for embedded videos.
Step 3: Name Your Wall Based on Campaign, Event, Themes
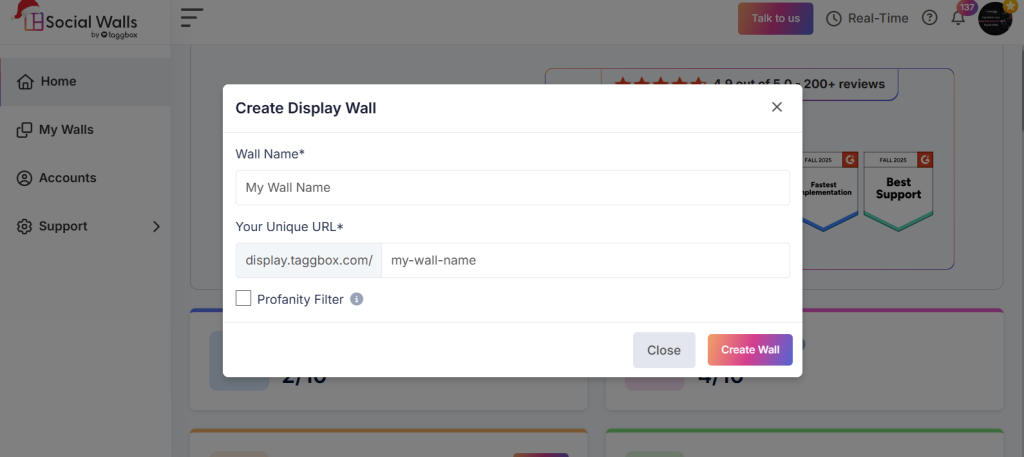
Pick a name that reflects the type of videos you want to embed. For example:
- Product Demo Videos
- Tutorial Library
- Customer Testimonials
- Event Highlights
- Weekly Tips & Guides
Naming helps you stay organized, especially if you plan to manage different embeds across multiple pages.
Step 4: Select YouTube as Your Source Network

Choose YouTube as the platform to connect your video content. Selecting it ensures your YouTube embed video feed pulls the correct videos and syncs updates automatically.
Step 5: Choose Your Video Source Type
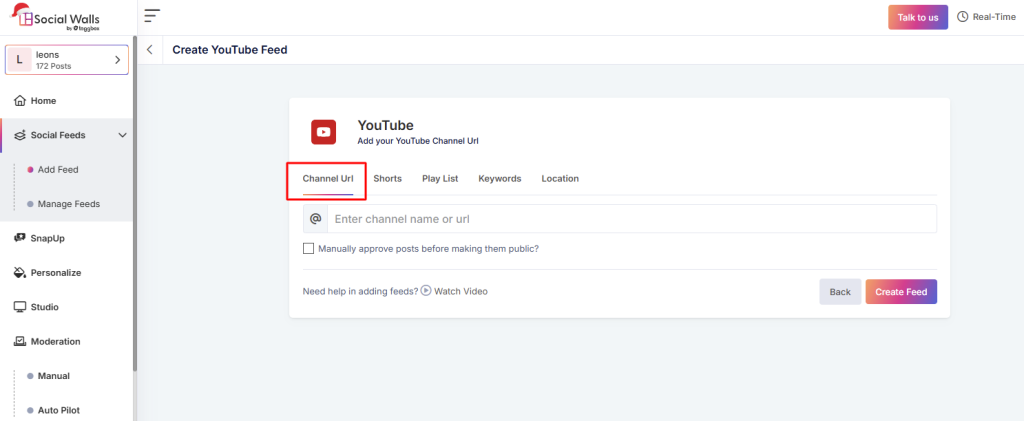
You can select videos from:
- Shorts
- Channel URL
- Playlist
- Keyword
- Location
This step helps determine whether you want a collection of videos or just a single embed YouTube video for a specific page.
Step 6: Customize Layout, Appearance & Moderation
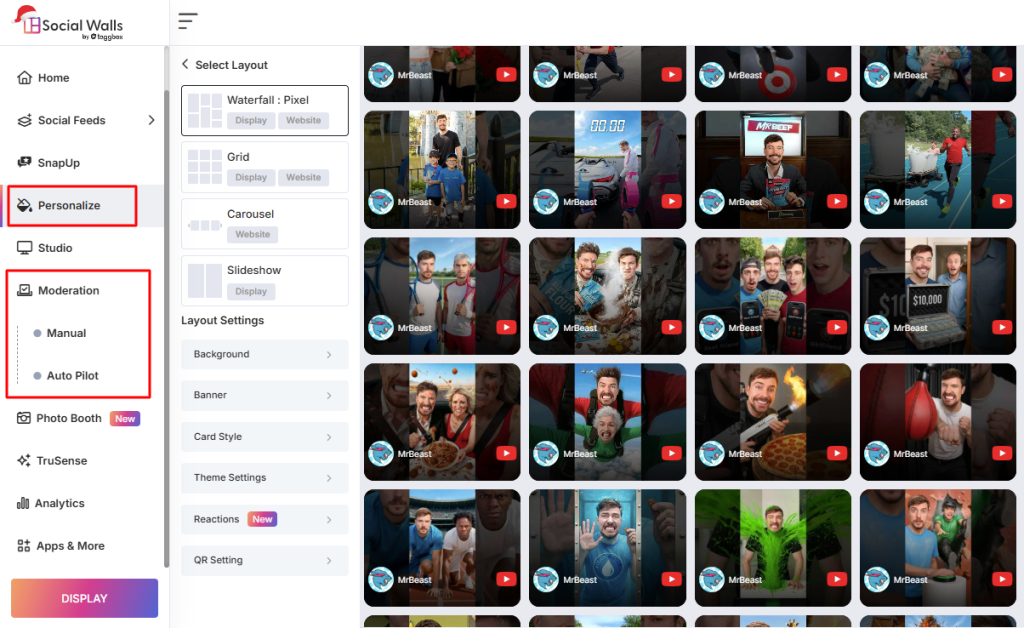
Personalize your feed using:
- grid or carousel layout
- background colors
- spacing & margins
- header visibility
- call-to-action buttons
Moderation tools allow you to filter content and approve videos manually if needed.
Step 7: Click Display and Copy the Embed Code

Once you finish customizing, click Display. You’ll receive an embed code for your YouTube video as Litecode or iframe. This embed code keeps your video updated and functions as the bridge between YouTube and your website.
Conclusion
Embedding videos isn’t just about filling space—it’s a communication technique. When you embed YouTube video, you give visitors a simple and engaging way to learn, trust, and act. It adds storytelling and clarity to your website without overwhelming users with long paragraphs.
A YouTube embed video updates automatically, improves user experience, and encourages viewers to explore more of your content. For brands, bloggers, educators, and e-commerce sites, embedding videos is an easy yet powerful way to boost engagement and credibility.